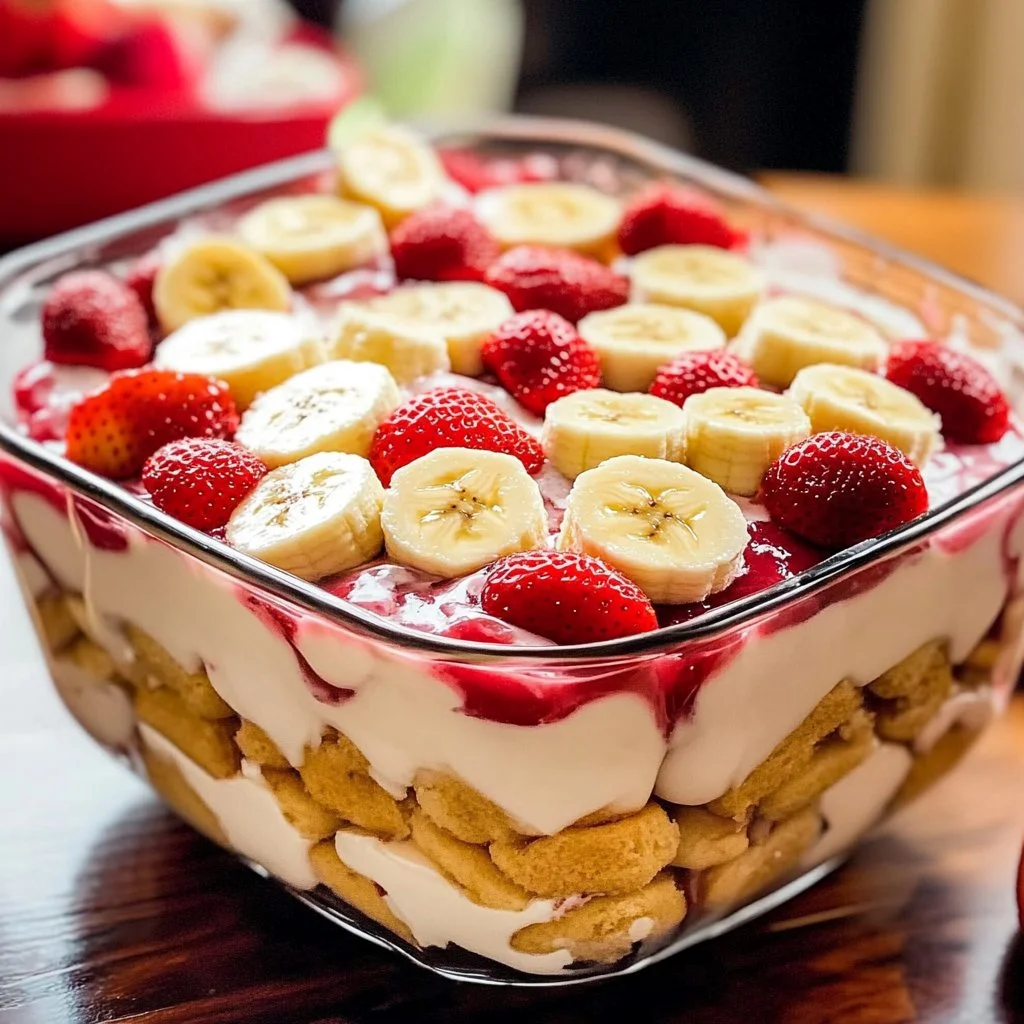
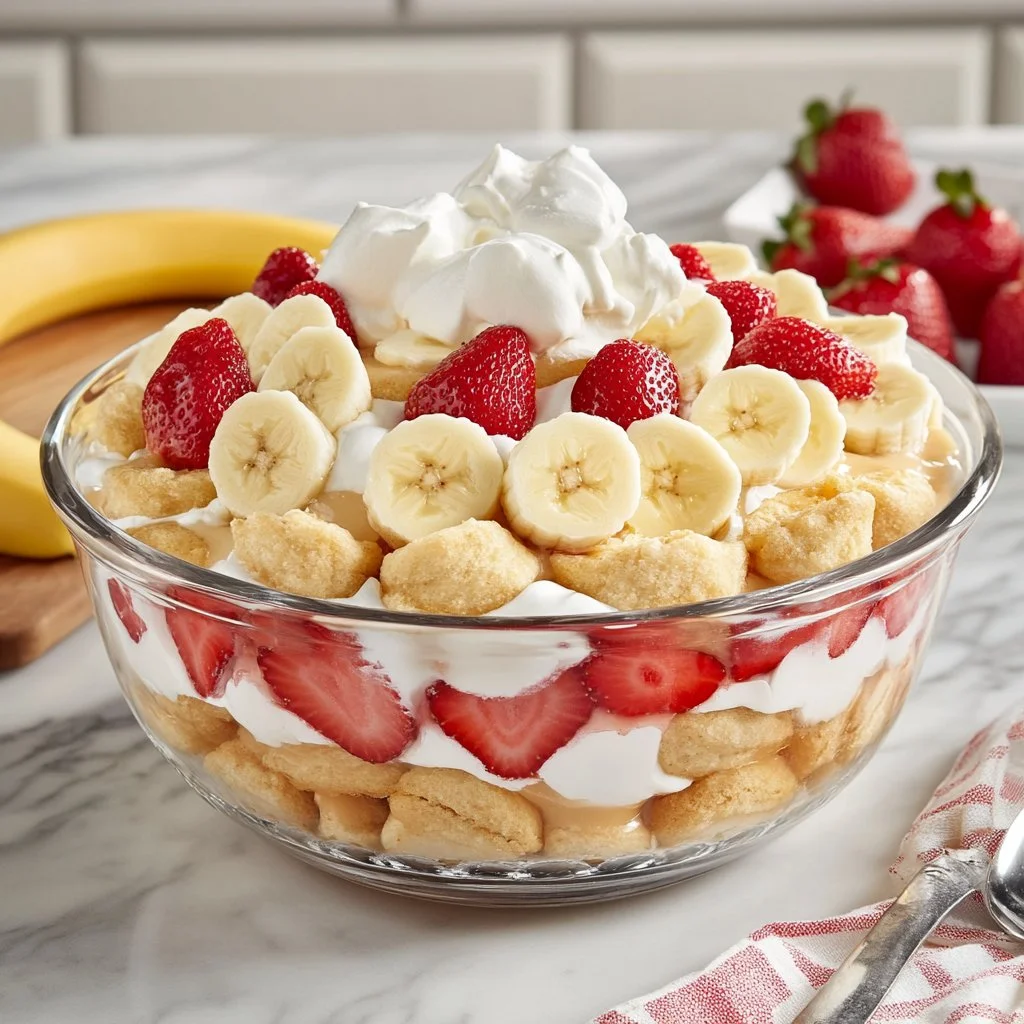
Strawberry Banana Pudding Dream

There’s a certain magic that happens in the kitchen when sweet and comforting aromas fill the air. It’s a soundscape of laughter, my kids eagerly setting the table while I stir a mixture that reminds me of my grandmother. The gentle warmth of familiarity wraps around us, beckoning everyone to come closer. This feeling, captured in a moment, is what makes cooking—it’s about connection, joy, and creating something to share around the table. Today, we’re diving into a delightful recipe that embodies all these feelings: Strawberry Banana Pudding Dream.
Why This Strawberry Banana Pudding Dream Feels Like Home
There’s something inherently cozy about pudding that takes me back to my childhood. Growing up, my family often gathered around the kitchen table, and desserts like pudding were always the grand finale of our meals. The smooth, creamy texture and vibrant colors of strawberries and bananas create visual appeal, capturing the happy essence of home. It’s less about being a complicated dessert and more about the warmth and love put into it.
This recipe is a nostalgic nod to simpler times, where food wasn’t just a necessity but a way to connect. Each bite brings memories rushing back, and I’m sure it will do the same for you. It’s a dish that evokes feelings of both warmth and joy, making it perfect for all occasions.
Why Strawberry Banana Pudding Dream is Our New Family Favorite
Every family has that one dish that becomes a cherished favorite. For us, it’s Strawberry Banana Pudding Dream. This dessert brings us together like no other, transforming ordinary days into special moments. With each layer of vanilla wafers, bananas, and strawberries, we create sparkling memories.
Why is it a favorite? It delivers the classic pudding flavor that so many adore, but with the added brightness of fresh fruit. It pleases both the young and the young-at-heart, making it the ultimate dessert for birthday parties, family gatherings, or even a simple weeknight treat. And let me tell you—it always disappears quickly!
The Simple Magic Behind Strawberry Banana Pudding Dream
The beauty of this recipe lies in its simplicity. With just a handful of ingredients and easy steps, you can create something truly spectacular. There’s no need for fancy baking skills or high-end tools. All you need are the essentials and a bit of love.
It combines the sweet creaminess of pudding with the freshness of fruit, resulting in a dessert that’s not only delicious but also visually stunning. The vibrant colors of bananas and strawberries peeking through the creamy layers make it a feast for the eyes as well. This dish brings the joy of home cooking, where simple ingredients transform into something that feels magical.
Why This Recipe Works for Our Busy, Joyful Nights
Life can be hectic, especially with kids running around and schedules filled to the brim. Yet, this Strawberry Banana Pudding Dream fits perfectly into our busy nights. It comes together quickly, requires no baking, and can be prepped ahead. The joy of pulling this dish from the fridge after a long day is priceless.
Plus, it makes excellent use of fresh fruits, combining them into something that feels both indulgent and healthy. It’s a wholesome choice that takes very little time and can easily be shared. While diving into our busy lives, this dessert reminds us to slow down and enjoy shared moments around the table.
How to Make Strawberry Banana Pudding Dream, The Heartwarming Way
Step-by-Step Overview: Keeping It Simple
Let’s dive into this cheerful adventure of crafting Strawberry Banana Pudding Dream. With just a few simple steps, you’ll create a dish that fills your kitchen with warmth and draws your family in with delicious aromas.
“This is where the magic happens—when the aroma fills the kitchen and my kids come running in, asking ‘Is it ready yet?’”
-
In a mixing bowl, combine the cream cheese and sweetened condensed milk until smooth.
This is where the base of our pudding starts. Use a hand mixer or a whisk. I find that letting the cream cheese sit at room temperature makes this step smoother and easier. -
Add the French Vanilla pudding and milk to the mixture and stir until well combined.
The smell of vanilla starts to fill the kitchen, and you’ll know you are on the right track. This creamy mixture is the heart of your pudding dream. -
In a large serving dish, layer the vanilla wafers, followed by a layer of sliced bananas and strawberries.
Feel free to let the kids help with layering—I often let my kids pick the prettiest fruits for this. -
Pour half of the pudding mixture over the fruit and wafers.
Don’t be shy here; let it drizzle and spread to create a delicious coating. -
Repeat the layers with the remaining ingredients, finishing with the pudding mixture on top.
It’s like building a delicious tower of happiness. Each layer brings a new texture and flavor to the dish. -
Spread the whipped topping over the final layer and refrigerate for at least 4 hours before serving.
This step is crucial—it allows all the flavors to mingle together. I often make this the night before, so everything is chilled and ready for dessert.
Ingredients You’ll Need
Gathering your ingredients is part of the fun. Here are the essentials:
- 2 boxes Vanilla Wafers
- 6 to 8 bananas, sliced
- 2 cups milk
- 1 container strawberries
- 1 (5 oz.) box French Vanilla pudding
- 1 (8 oz.) package cream cheese
- 1 (14 oz.) can sweetened condensed milk
- 1 (12 oz.) container whipped topping
When selecting your ingredients, go for ripe fruits. You want the bananas and strawberries to be as fresh as possible. It adds to the sweetness and flavor of the entire dish. Don’t worry if you don’t have these exact fruits on hand—this pudding is versatile. You can substitute with other berries or even add nuts for a different twist.
The Cooking Process, Made Joyful
Cooking is about joy, and each part of creating this dish should feel fun. Imagine the joy of discovering the right flavor combinations as you mix ingredients and layer them beautifully. Getting your family involved makes it even more special.
Preparing Strawberry Banana Pudding Dream Without the Stress
When I make this dessert, I often play music and dance a little. The kitchen becomes a joyful space rather than a chore-filled one. Involving kids in the process not only lightens your load but also creates lasting memories. Cooking, after all, is an opportunity to teach and share moments together.
Serving Strawberry Banana Pudding Dream with Love
Now that your homemade strawberry banana pudding dream is ready and beautifully chilled, it’s time to bring it to the table. It’s best served family-style, right in the center. This invites everyone to help themselves, creating a shared experience that embodies warmth and connection.
Imagine cutting through the layers to reveal the colorful fruits nestled within creamy pudding. Often, I’ll serve it with a small sprinkle of crushed vanilla wafers on top for added crunch. Sometimes, I add a drizzle of chocolate syrup for those who want an extra treat. The laughter and chatter around the table amplify the joy this dessert brings.
Storage & Reheat Tips (Keeping the Goodness)
Let’s talk about storage, because sometimes you might have leftovers—or you’re wise enough to make it ahead of time. This tribute to comfort food keeps surprisingly well. Store any leftovers in an airtight container in the fridge.
When it’s time to enjoy the last few bites, the pudding can be served straight from the fridge. The wonderful thing about this dessert is that it doesn’t need reheating since all the magic is in the chill.
My Kitchen Notes & Shortcuts
From my own experience making this dish, here are a few helpful shortcuts and tips to keep in mind:
- Prep Ahead: You can easily prepare this dessert the night before. It helps the flavors develop beautifully.
- Substitutions: If you don’t have cream cheese, try ricotta for a lighter version. The taste will be different but still delightful.
- Get the Kids Involved: Letting your kids help with slicing bananas or layering ingredients can make the process more fun and engaging.
- Flavor Tweaks: Don’t hesitate to add a splash of pure vanilla extract for an extra depth of flavor.
Family-Friendly Variations
This dish offers room for creativity. You can easily customize it based on what your family loves. Here are some ideas:
- Use Different Fruits: Try peaches or blueberries to add variety. Each fruit offers a unique flavor that changes the whole feel of the dish.
- Make It Lighter: Substitute Greek yogurt for whipped topping for a healthier version that still tastes indulgent.
- Add a Crunch: Incorporating some crushed nuts or granola can give your pudding a fun texture, making it even more enjoyable.
Cooking is about storytelling, and this dish can be your canvas. As you experiment, you’ll weave your family’s unique history into the recipe.
FAQs About Strawberry Banana Pudding Dream
Can I make this ahead for a busy week?
Absolutely! In fact, letting it sit for at least an hour lets the flavors develop. It’s a breeze to prepare in advance.
How long will this pudding last in the refrigerator?
Stored well in an airtight container, it can stay fresh for about 3 to 4 days. Just know that the fruit flavor may become slightly stronger, but it’s still delicious.
Is there a way to make this gluten-free?
Sure! Simply swap out the vanilla wafers for gluten-free cookies or cakes that have the same flavor profile.
One Final Thought from My Kitchen
As you embark on your own journey of creating Strawberry Banana Pudding Dream, remember it is more than just a dessert. It’s a way to gather your loved ones, share stories, and make warm memories. I hope this dish brings as much warmth and joy to your family as it does to mine.
Until next time, happy cooking!

Strawberry Banana Pudding Dream
Ingredients
Method
- In a mixing bowl, combine the cream cheese and sweetened condensed milk until smooth.
- Add the French Vanilla pudding and milk to the mixture and stir until well combined.
- In a large serving dish, layer the vanilla wafers, followed by a layer of sliced bananas and strawberries.
- Pour half of the pudding mixture over the fruit and wafers.
- Repeat the layers with the remaining ingredients, finishing with the pudding mixture on top.
- Spread the whipped topping over the final layer and refrigerate for at least 4 hours before serving.