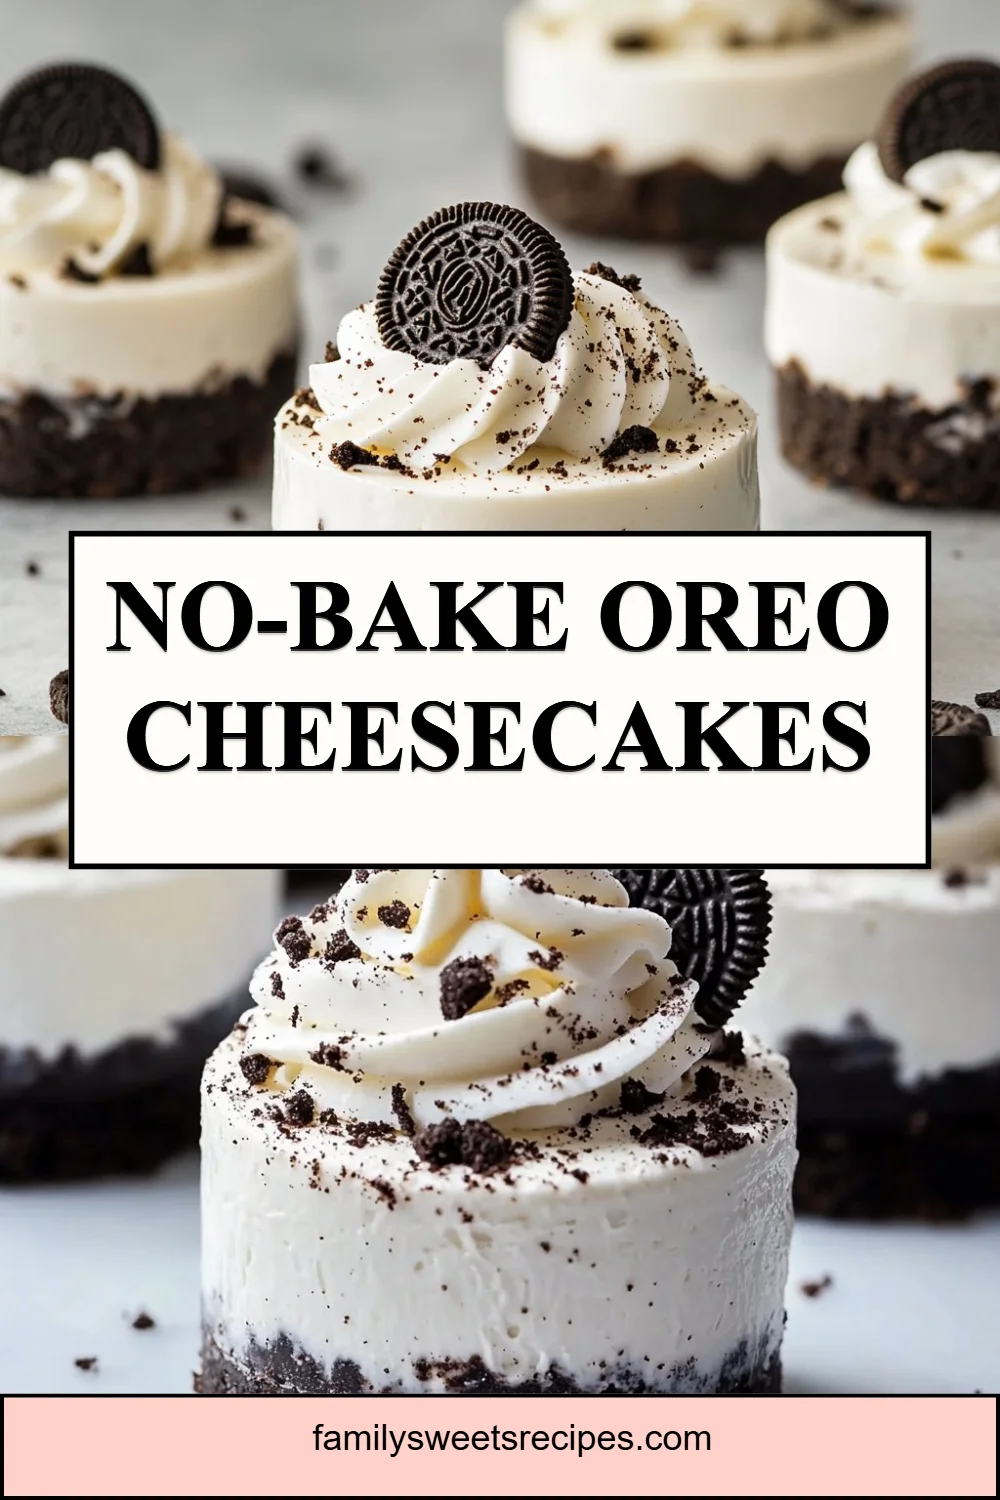
No-Bake Oreo Cheesecakes
The sound of little feet tapping the kitchen tiles, a jar of Oreos clattering as someone reaches for the last cookie, and the soft cool scent of cream cheese being stirred — that is where this recipe was born. I remember my son standing on a stool, crushing cookies with a rolling pin and giggling when a crumb jumped out. This No-Bake Oreo Cheesecakes recipe is a quick, sweet love note to those small kitchen moments, the kind that make a weeknight feel like a celebration. If you want a dessert that is easy, dependable, and beloved by kids and adults alike, you will want to keep reading. For more simple sweets that fit into busy family life, I often look to the collection of no-bake desserts for inspiration.
Why This No-Bake Oreo Cheesecakes Feels Like Home
There is a small kind of magic in desserts that do not need an oven. They feel like secret shortcuts that still taste like care. This No-Bake Oreo Cheesecakes gives you rich, creamy filling and a crunchy chocolate cookie base without heating up the house or turning on the oven. 
I love this recipe because it brings people together. You can mix the base while the kids clear plates, or make the filling while dinner finishes. It is the kind of dessert you can pull from the fridge when guests arrive and watch faces light up. It pleases picky eaters and dessert lovers with equal joy.
From my kitchen, this recipe matters because it lets me spend more time talking at the table and less time fussing with pans. It is fast enough for a weeknight treat and pretty enough for a weekend crowd. That balance of ease and heart makes it part of our family rhythm.
How to Make No-Bake Oreo Cheesecakes, The Heartwarming Way
“This is where the magic happens—when the aroma fills the kitchen and my kids come running in, asking ‘Is it ready yet?’”
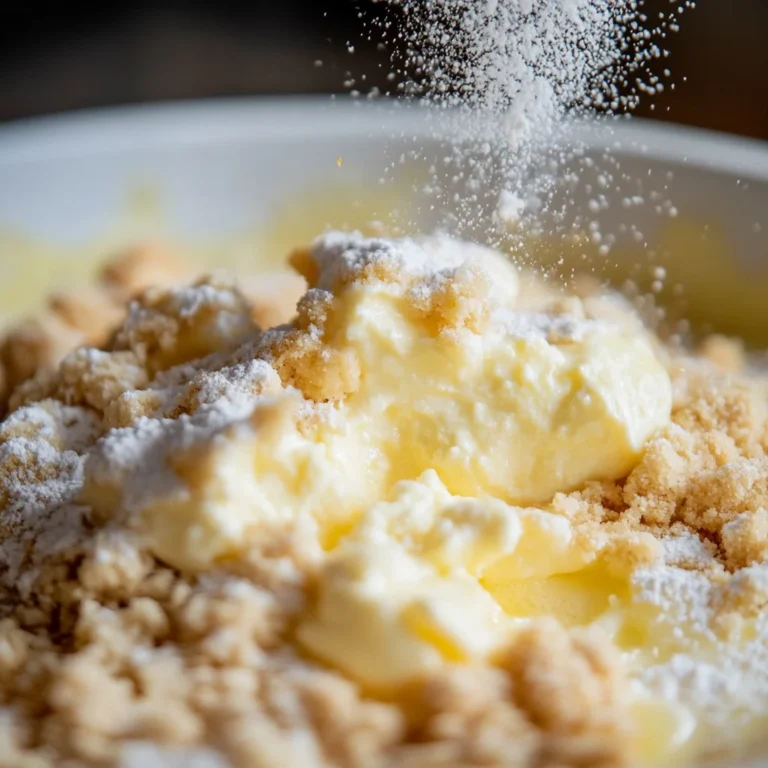
This recipe is mostly about gentle folding and patient chilling. Start with a crunchy base made from crushed Oreos and melted butter. Next comes a smooth cream cheese filling mixed with more crushed cookies. Spoon the filling over the base, chill until firm, and then finish with whipped cream and a sprinkle of cookie crumbs. Look for a firm but yielding texture in the filling; it should hold its shape but still feel soft on the spoon.
Keep an eye on the color and texture cues. The base should look uniformly dark and hold together when pressed. The filling should be pale, speckled with cookie crumbs, and glossy from the whipped cream. When you smell that little chocolate-and-cream mix, you will know you are close.
For a bit of variety, serve these mini cheesecakes in ramekins or muffin tins. They are easy to portion and perfect for sharing. And if you want a lighter touch, use a whipped topping instead of heavy cream and reduce sugar a bit — still delicious, still easy. While you’re experimenting, you might enjoy a creamy twist inspired by a playful shake we love: try my take on an Oreo milkshake for a dessert drink to match.
Ingredients You’ll Need
What you need for this recipe is simple and pantry friendly. Gather these five main items and you are already most of the way there.
- Oreo cookies (for the base)
- Cream cheese (softened)
- Oreo cookies (crushed for the filling)
- Whipped cream
- Butter (melted)
A few friendly notes: use full-fat cream cheese for best texture and flavor. If you only have cold cream cheese, cut it into pieces and let it sit a bit, or warm it briefly in a bowl set over hot water to soften it gently. For the Oreos, you can remove the filling for the base crushing if you prefer a less sweet crust, but I usually leave them as is — it gives a nice flavor and keeps things truly simple.
If you like to plan ahead, crush a bag of cookies and keep them in a jar. They make a great quick base for many desserts. To see other fun no-bake ideas to pair with these cheesecakes, peek at a recipe that my family turns to when we are in a tropical mood, the mini pineapple upside-down cheesecakes.
Step-by-Step Directions
-
Crush the Oreo cookies for the base and mix them with melted butter until combined.
Press the mixture into the bottom of cheesecake molds.
A flat-bottomed glass helps press the base evenly; ask a kid to help with the pressing — they love this part. -
In a bowl, mix softened cream cheese with crushed Oreo cookies until smooth.
Work gently so you keep a few cookie pieces for texture.
Taste and adjust sweetness if you like, but the cookies bring plenty of flavor. -
Spoon the Oreo cheesecake filling over the base and smooth the top.
Fill to the rim for a generous serving or leave a small border for extra whipped cream.
Tap the molds lightly to settle the filling and remove air pockets. -
Refrigerate for at least 2 hours to set.
Chilling is where the texture becomes right: the filling firms and the base locks in.
If you are in a hurry, pop them in the freezer for 30–45 minutes and watch closely. -
Before serving, top with whipped cream and cookie crumbles.
Use a piping bag for a polished look or a spoon for a homey finish.
Add an extra cookie half on top if you want a small flourish.
Quick encouragement: let the kids finish the topping while you set the table. It keeps the kitchen lively and helps the little ones feel proud of their work. Once you get the hang of these few steps, the recipe feels almost effortless — and that is the real joy.
Serving No-Bake Oreo Cheesecakes with Love
I like to bring the cheesecakes to the table family-style on a long tray so everyone can pick their portion. 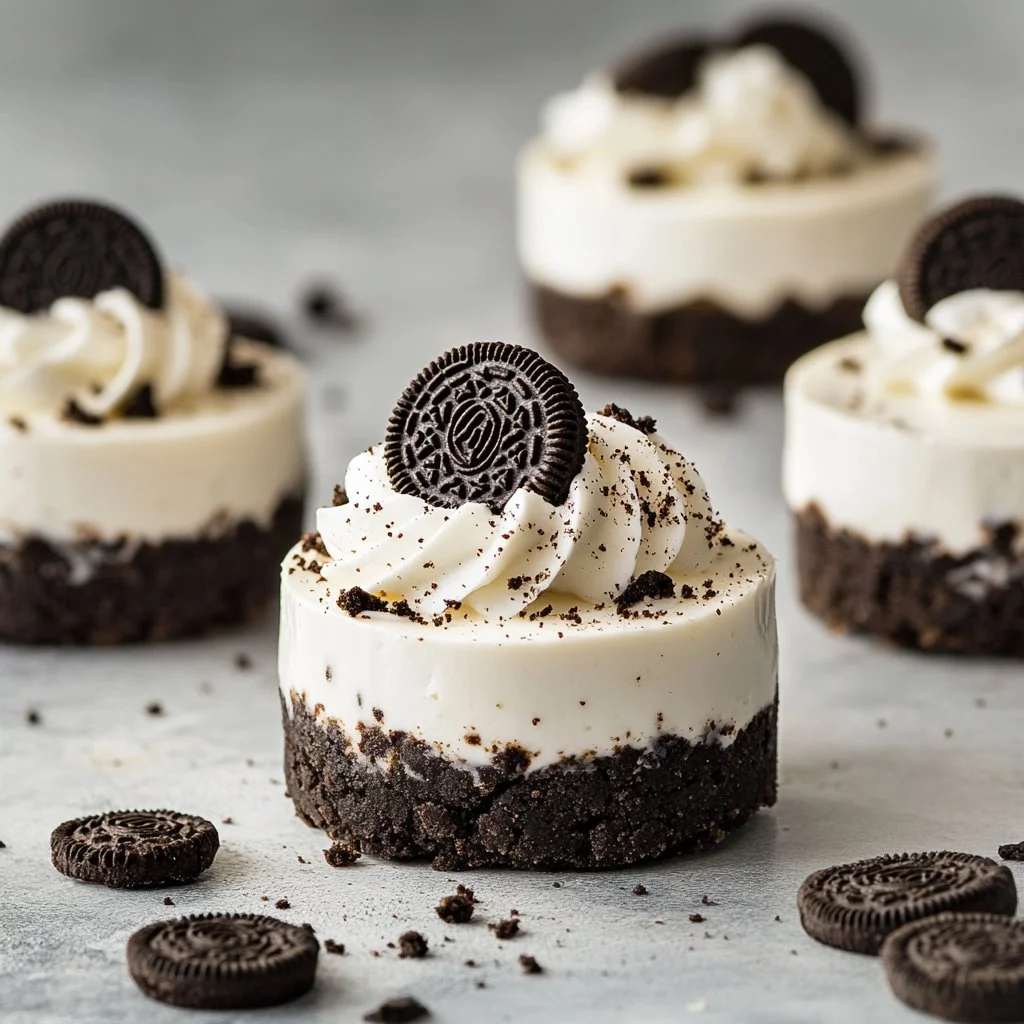
Sometimes we add a small bowl of extra cookie crumbs, a jug of hot coffee, and a pitcher of milk for the kids. One of my daughters loves extra whipped cream, while my husband reaches for a drizzle of chocolate sauce. It has become a small ritual: everyone customizes their slice and we share stories between bites.
This dessert pairs well with simple sides. Fresh berries cut the sweetness and add a bright color. A small scoop of vanilla ice cream on the side makes it extra indulgent. For a playful brunch, serve alongside mini fruit tarts or a fresh fruit salad. When guests come over, I set out spoons and plates, and we scoop into the little cheesecakes at once — it turns into a warm, messy, happy moment.
If you want to present them for a party, place each mini cheesecake on a decorative doily or a simple plate and top with a mint leaf for a pop of green. If kids are serving, give them small spoons and let them decide the toppings. Serving this dessert is about sharing more than food; it’s about sharing time.
Storage & Reheat Tips (Keeping the Goodness)
Storing these cheesecakes is simple and keeps them fresh for a few days. Place individual cheesecakes in an airtight container in the refrigerator. They will stay good for up to 4 days, though we rarely make it that long.
If you chill them longer for a party, keep them wrapped to avoid absorbing other fridge smells. Freezing is possible: wrap each cheesecake tightly and freeze up to one month. Thaw in the fridge for several hours before serving.
Reheating is not usually needed, but if you prefer a slightly softer texture, let them sit at room temperature for 10–15 minutes. Avoid microwaving straight from chilled; it can make the cream cheese separate and get grainy. If you must warm a single portion, do it for 5–7 seconds at low power and watch carefully.
When traveling with them, place the container on a small ice pack and avoid long car rides in hot weather. These tips keep the flavor right and the texture just as we love it.
My Kitchen Notes & Shortcuts
- Quick base hack: Use a food processor for fast, even crumbs. No processor? Drop cookies in a zip bag and roll with a rolling pin.
- Soften cream cheese fast: cut it into cubes and set in a bowl of warm water for a few minutes, or microwave in 5-second bursts.
- Make-ahead move: Make the bases the night before and store them covered. Next day, whip the filling and assemble quickly.
- Kid-friendly step: Let children mix the crushed cookies into the cream cheese. It’s an easy, fun task that builds kitchen confidence.
- Flavor swap: Add a teaspoon of espresso powder to the filling for an adult-friendly mocha note.
These little shortcuts have saved me many busy evenings and helped me keep dessert on the table without stress.
Family-Friendly Variations
This recipe invites playful changes. Try one of these family-tested variations and make it your own.
- Lighter version: Use low-fat cream cheese and light whipped topping. The texture will be a touch softer, but still satisfying.
- Chocolate lovers: Fold in mini chocolate chips for extra crunch. Kids love the surprise bits.
- Fruit twist: Add a layer of raspberry jam between the base and filling for a tart contrast.
- Party size: Turn the recipe into a sheet-pan no-bake bar by pressing the base into a pan and spreading the filling across it. Chill and cut into squares.
- Nutty note: Sprinkle toasted chopped nuts on top for texture and a nutty flavor that plays well with the Oreos.
These swaps keep the heart of the dessert while letting your family’s tastes shine.
FAQs About No-Bake Oreo Cheesecakes
Can I make this ahead for a busy week?
Absolutely. Make the bases and fillings in advance, assemble the night before, and chill. The flavors settle and taste even better the next day.
My filling was a bit runny. What did I do wrong?
Most likely the cream cheese was too soft or the whipped cream was under-whipped. Chill the mixture and gently fold in a bit more whipped cream. If needed, refrigerate longer to firm up.
Can I use a different cookie for the base?
Yes. Graham crackers, chocolate wafers, or even a crushed shortbread work well. The flavor will change, but the method stays the same.
How long should I chill the cheesecakes?
At least two hours is ideal. For the best texture, chill 4 hours or overnight. If you are short on time, 30–45 minutes in the freezer helps, but watch so they do not freeze solid.
What is the best tool to press the crust?
A flat-bottomed measuring cup or a small glass works great for pressing the crust evenly into molds. It helps make a sturdy base that holds together when you lift the cheesecake.
One Final Thought from My Kitchen
I hope these No-Bake Oreo Cheesecakes find an easy place in your week, whether for a quick weekday treat or a dessert that makes a celebration feel cozy. It is a recipe that asks for little and gives a lot: flavor, ease, and the small ritual of sharing. If you make it, notice who reaches first for the extra crumbs and who saves a slice for later — those tiny details become the stories we remember.
Conclusion
If you want a tidy guide to recreate this exact style of dessert at home, I like the clear approach in No-Bake Oreo Cheesecake for technique ideas and visual cues. For another gentle take with a fresh twist, see the approachable directions at No-Bake Oreo Cheesecake Recipe | Life, Love and Sugar — both are great resources for extra inspiration.
Happy baking, or rather happy chilling. Give it a try — you might surprise yourself, and your family will certainly thank you.

No-Bake Oreo Cheesecakes
Ingredients
Method
- Crush the Oreo cookies for the base and mix them with melted butter until combined.
- Press the mixture into the bottom of cheesecake molds.
- In a bowl, mix softened cream cheese with crushed Oreo cookies until smooth.
- Work gently to keep a few cookie pieces for texture.
- Spoon the Oreo cheesecake filling over the base and smooth the top.
- Refrigerate for at least 2 hours to set.
- Before serving, top with whipped cream and cookie crumbles.