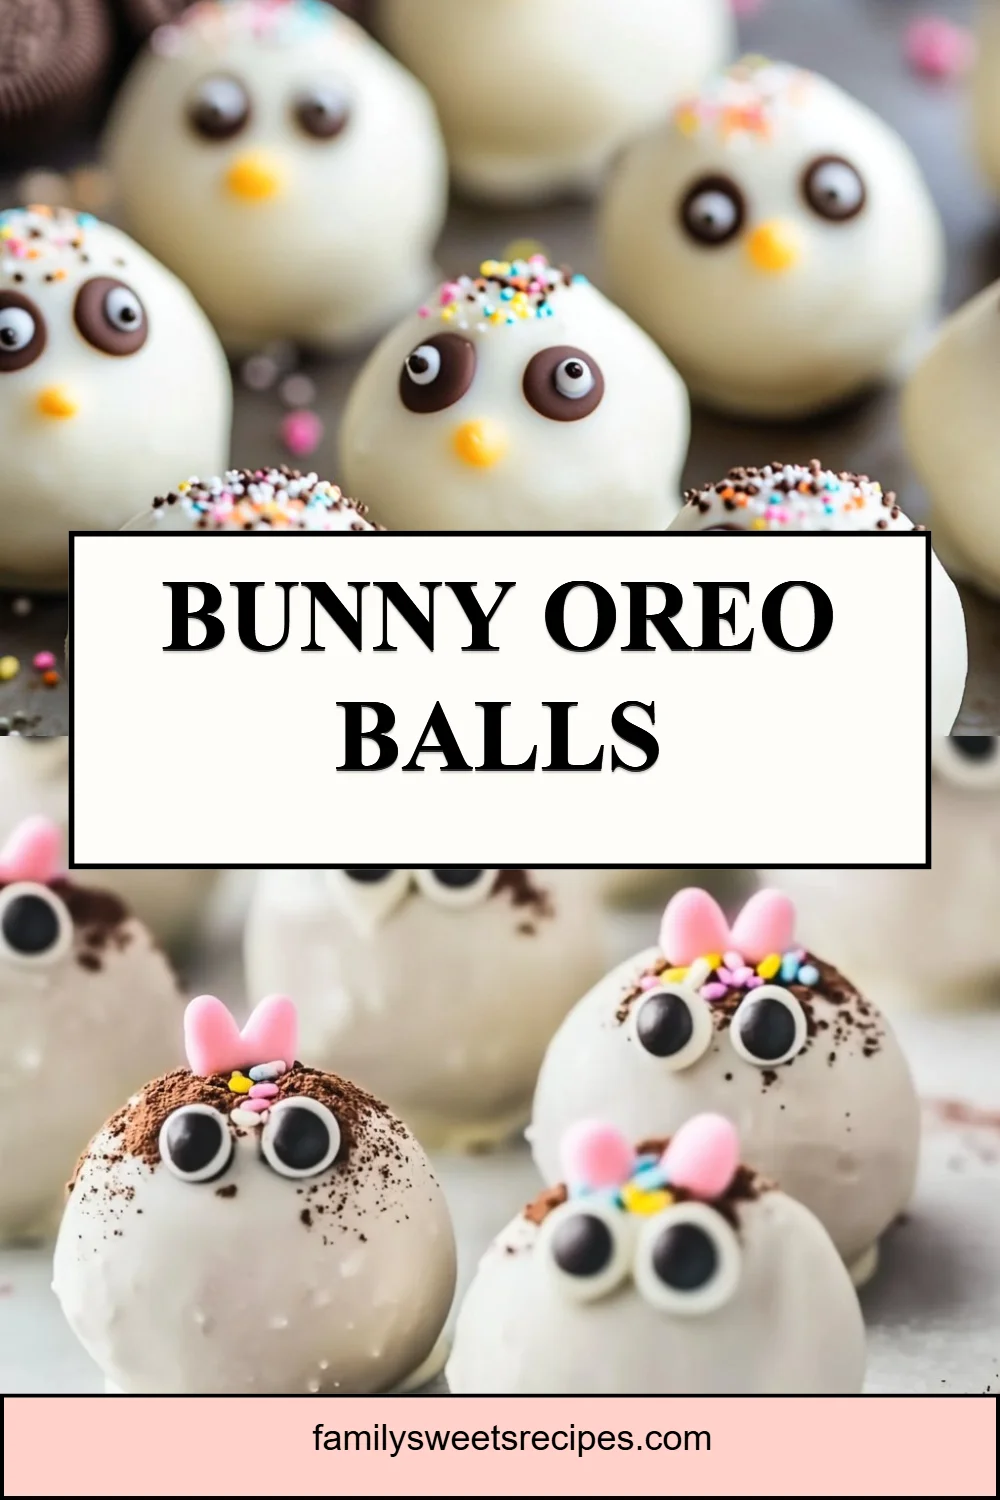
Bunny Oreo Balls
The first thing I notice when I make Bunny Oreo Balls is the way the house fills with a sweet, chocolatey hush. My youngest taps a spoon against the counter and asks if they can help, while my partner sets a tiny paper plate in the center of the table like it belongs to a very important guest. There is something about the small, round treats that whispers of childhood holidays, and I always think of my grandmother laughing as she handed me a cookie after school. If you love playful Oreo desserts, you might also enjoy my take on Mint Oreo Parfaits, which feel just as cozy and easy to share.
Why This Bunny Oreo Balls Feels Like Home
This recipe lands on our table when we want something quick, festive, and utterly loved by little hands. It takes ingredients most of us keep on hand and turns them into something that looks like you spent hours in the kitchen, while in truth you barely used the stove.
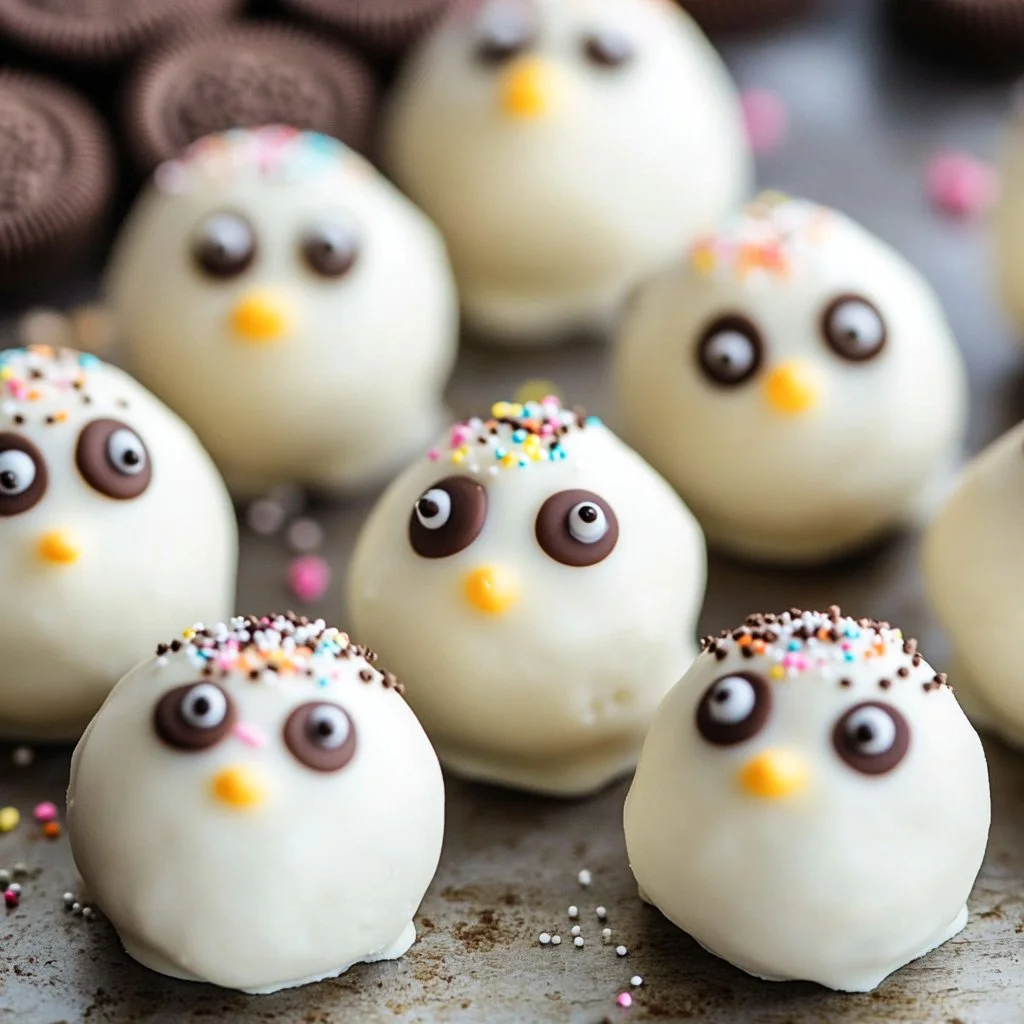
The charm is in the little details: the bright white coating, the tiny chip-eyes, the way they crack gently when you bite. It’s a simple recipe that lets you show up to a party with something special without feeling frazzled. Meanwhile, it brings everyone together—kids decorate and elders dispense stories—so it becomes more memory than dessert.
Why does it work so well for busy nights? It makes ahead easily, needs minimal tools, and still carries that homemade, make-you-smile factor. If you love swapping flavors, try pairing with a cold Oreo shake as a fun sidekick to dessert time.
How to Make Bunny Oreo Balls, The Heartwarming Way
“This is where the magic happens—when the aroma fills the kitchen and my kids come running in, asking ‘Is it ready yet?’”
Start small and friendly. The process is a simple trance of crushing, mixing, chilling, and dipping. Texture cues will tell you when you’re on track: the Oreo crumbs should feel like damp sand when mixed with cream cheese, and the dipped balls should glisten and then set smooth.
Look for color and feel: the white chocolate should be glossy and runny but not hot to the touch. When you press the chips in for eyes, they should sit on the surface before the coating fully firms. If you like rich drink pairings, a cold Oreo milkshake makes a playful companion while you decorate; it’s a great way to keep little helpers occupied with mixing and tasting.
Ingredients You’ll Need
What goes into Bunny Oreo Balls is delightfully short. Gather these basics and you’ll be ready to roll.
- Oreo cookies (about 36 regular Oreos)
- 8 ounces cream cheese, softened
- White chocolate (about 12 ounces) for dipping
- Cocoa powder (optional, for a textured look)
- Candy melts (optional, for color and ears)
- Sprinkles (optional)
- Mini chocolate chips (for eyes)
Friendly note: Don’t be afraid to use what you have. If you have a different cookie on hand, try it. The cream cheese is the glue that turns crumbs into treatable dough, so keep that part steady. If mint notes make you smile, pair one on the side with a dessert like Mint Oreo Parfaits for a mint-and-chocolate celebration.
Step-by-Step Directions
-
Crush Oreo cookies in a food processor until fine crumbs form.
Work in short pulses so you don’t overheat the motor. If you don’t have a processor, pop cookies in a sealed bag and use a rolling pin.
-
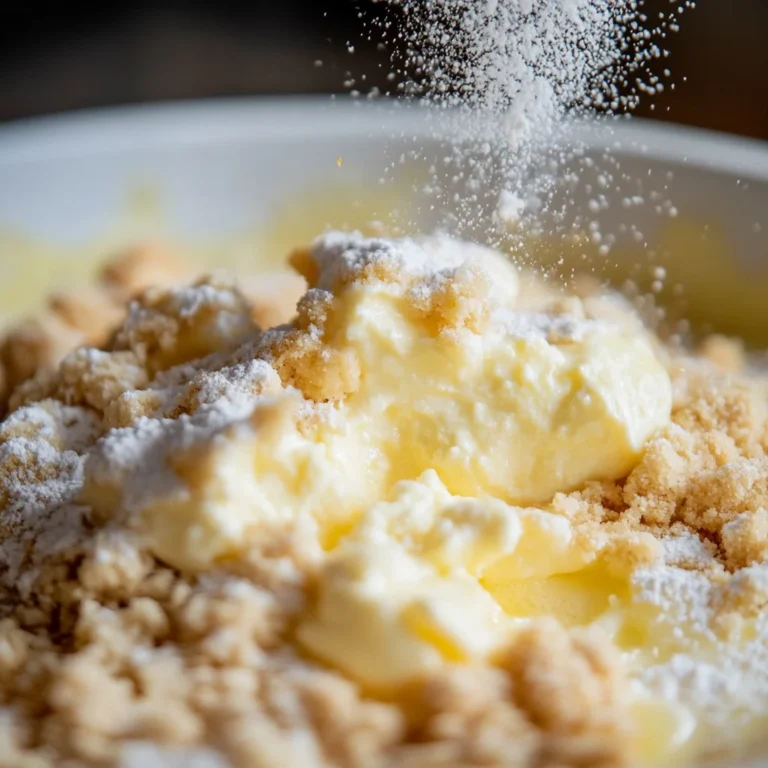
In a bowl, mix the crushed Oreos with cream cheese until well combined.
Use a spatula or clean hands. The mixture should hold together like play dough.
-
Roll the mixture into small balls and place them on a baking sheet.
Aim for about 1 inch to 1 1/2 inch balls. Uniform size helps them set evenly.
-
Chill in the refrigerator for about 30 minutes.
Cold balls are easier to dip and keep their shape during coating.
-
Melt white chocolate and dip each ball, allowing excess to drip off.
Use a fork or dipping tool. Tap gently to remove drips so the bottom is smooth.
-
Use cocoa powder to sprinkle over for a textured look.
Dust lightly for a dusty, natural finish that looks like little bunnies.
-
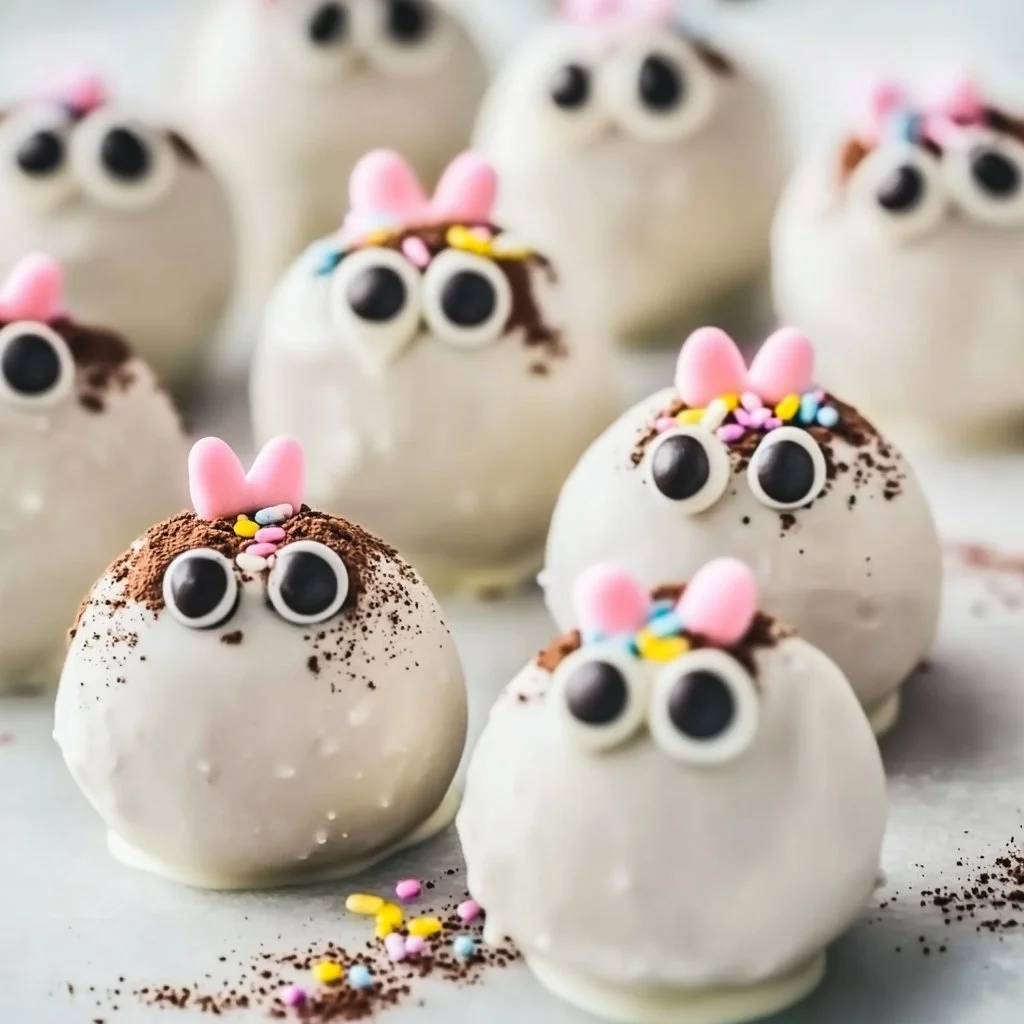
Place the balls back on the baking sheet and before the chocolate sets, add mini chocolate chips for eyes.
Press them in gently so they stay. This is a fun step for kids to help with.
-
Let them cool completely before serving. Enjoy your festive Bunny Oreo Balls!
Chill again for about 15 minutes to firm the coating fully. Then arrange and smile.
Quick tip from my kitchen: use a small squeeze bag with a tiny corner snipped to pipe melted candy melts for ears or little bows. It’s easier than freehand and looks tidy. If you want a slightly softer center, shorten the initial chill by five minutes, but remember that very soft centers are trickier to coat. For inspiration while you work, put on a favorite song and let the decorating feel like a game.
Serving Bunny Oreo Balls with Love
We serve these family-style on a big platter right in the middle of the table. I like to stack them in a loose pyramid and tuck in pastel paper cups for the kids. Some people love an extra dusting of cocoa or a tiny drizzle of melted dark chocolate for contrast.
Pair them with warm tea for the adults and a frothy Oreo milkshake for the kids. Add a simple side of fresh fruit to cut the richness if you want a lighter finish. When guests arrive, I set out a decorating station with extra sprinkles and piped details so everyone can make their own bunny. If you’re planning a themed dessert spread, a bright mint parfait of sorts complements these nicely and brings a fresh note to the plate; try my version of a mint parfait for a layered pairing with texture and color at the table (Mint Oreo Parfaits).
Serve them at room temperature for the best bite, but keep them chilled if you plan to sit them out for longer than an hour on a warm day. This way, they keep their shape and the white coating stays neat.
FAQs About Bunny Oreo Balls
Can I make this ahead for a busy week?
Absolutely. You can finish them and store in an airtight container in the fridge for up to one week. They keep well in the freezer too for up to 3 months—thaw in the fridge overnight.
What’s the best way to make them look professional?
Work with uniform balls and dip them in shells that are evenly heated. Tap off excess coating and use a toothpick to fix imperceptible flaws before the coating sets.
Can kids really help?
Yes. The rolling and decorating steps are perfect for small hands. I let mine press on the eyes and choose sprinkle combos; they love the ownership.
What if the coating seizes or thickens?
Warm it gently in short bursts in the microwave, stirring between. Add a teaspoon of coconut oil or vegetable shortening to loosen it if needed.
How do I keep them from sticking to the tray?
Line the tray with parchment or a silicone mat. It frees you from many little crises and speeds cleanup.
Storage & Reheat Tips (Keeping the Goodness)
Store in an airtight container lined with parchment paper so the coating does not stick. Layer with more parchment if you stack them. For the fridge, keep them at the back where the temperature is more steady.
If frozen, thaw in the fridge overnight. Bring them to room temperature before serving so the flavors and textures are at their best. Avoid microwaving unless you want a quick, soft-bite version; 5 to 10 seconds can do the trick if you need a softer center.
For transport, use a shallow container in a snug box. Add crumpled parchment or paper towel around the sides to keep them from jostling. I learned this the hard way after a bumpy van ride to a picnic.
My Kitchen Notes & Shortcuts
- Use a cookie scoop to portion the mixture for uniform balls. It saves time and looks tidy.
- If cream cheese is too cold and won’t mix, warm it in 5-second bursts in the microwave to soften evenly.
- Substitute candy melts with tinted white chocolate for ears and tiny bows; melt with a teaspoon of coconut oil for smoother drizzle.
- Prep the Oreo crumb mix a day ahead and chill—then it becomes a quick assembly project when you have the time.
- If you’re feeding a crowd, double the batch and freeze half; that way you have a ready celebration at hand.
Family-Friendly Variations
Make them kid-safe: use edible markers for faces instead of small chocolate chips for very young children who may not have the best chewing skills.
Flavor swaps: mix in a teaspoon of instant coffee for a mocha twist. Swap a quarter cup of crumbs for crushed peppermint candy for a holiday version.
Healthier nods: use reduced-fat cream cheese and dark chocolate for dipping, and skip the sprinkles. They will still be loved.
Play with shapes: press the mixture into small bunny molds before chilling for molded treats that look more uniform and festive.
If you prefer a different texture, add a tablespoon of crushed nuts to the crumb mix for a gentle crunch.
One Final Thought from My Kitchen
I hope these Bunny Oreo Balls find their way into your family’s laughter and small, sticky-handed moments. They are a reminder that a tiny, thoughtful treat can turn an ordinary evening into something to remember. From my kitchen to yours, give it a try—you might surprise yourself with how much joy a little rolling, dipping, and decorating can bring. If you’d like a couple of other recipe ideas or inspirations to tweak the look, these curated recipe pages can help you plan a sweet spread: Bunny Oreo Balls Recipe at Food Network Kitchen and a playful family version here Bunny OREO Balls from A Pumpkin And A Princess.

Bunny Oreo Balls
Ingredients
Method
- Crush Oreo cookies in a food processor until fine crumbs form. Work in short pulses to avoid overheating the motor. Alternatively, place cookies in a sealed bag and crush with a rolling pin.
- In a bowl, mix the crushed Oreos with cream cheese until well combined. The mixture should hold together like play dough.
- Roll the mixture into small balls about 1 to 1.5 inches in diameter and place them on a baking sheet.
- Chill the balls in the refrigerator for about 30 minutes.
- Melt the white chocolate and dip each ball, allowing excess to drip off.
- Lightly dust cocoa powder over the dipped balls for a textured look.
- Before the chocolate sets, press mini chocolate chips into the balls for eyes.
- Let the balls cool completely before serving. Chill again for about 15 minutes to firm the coating fully.