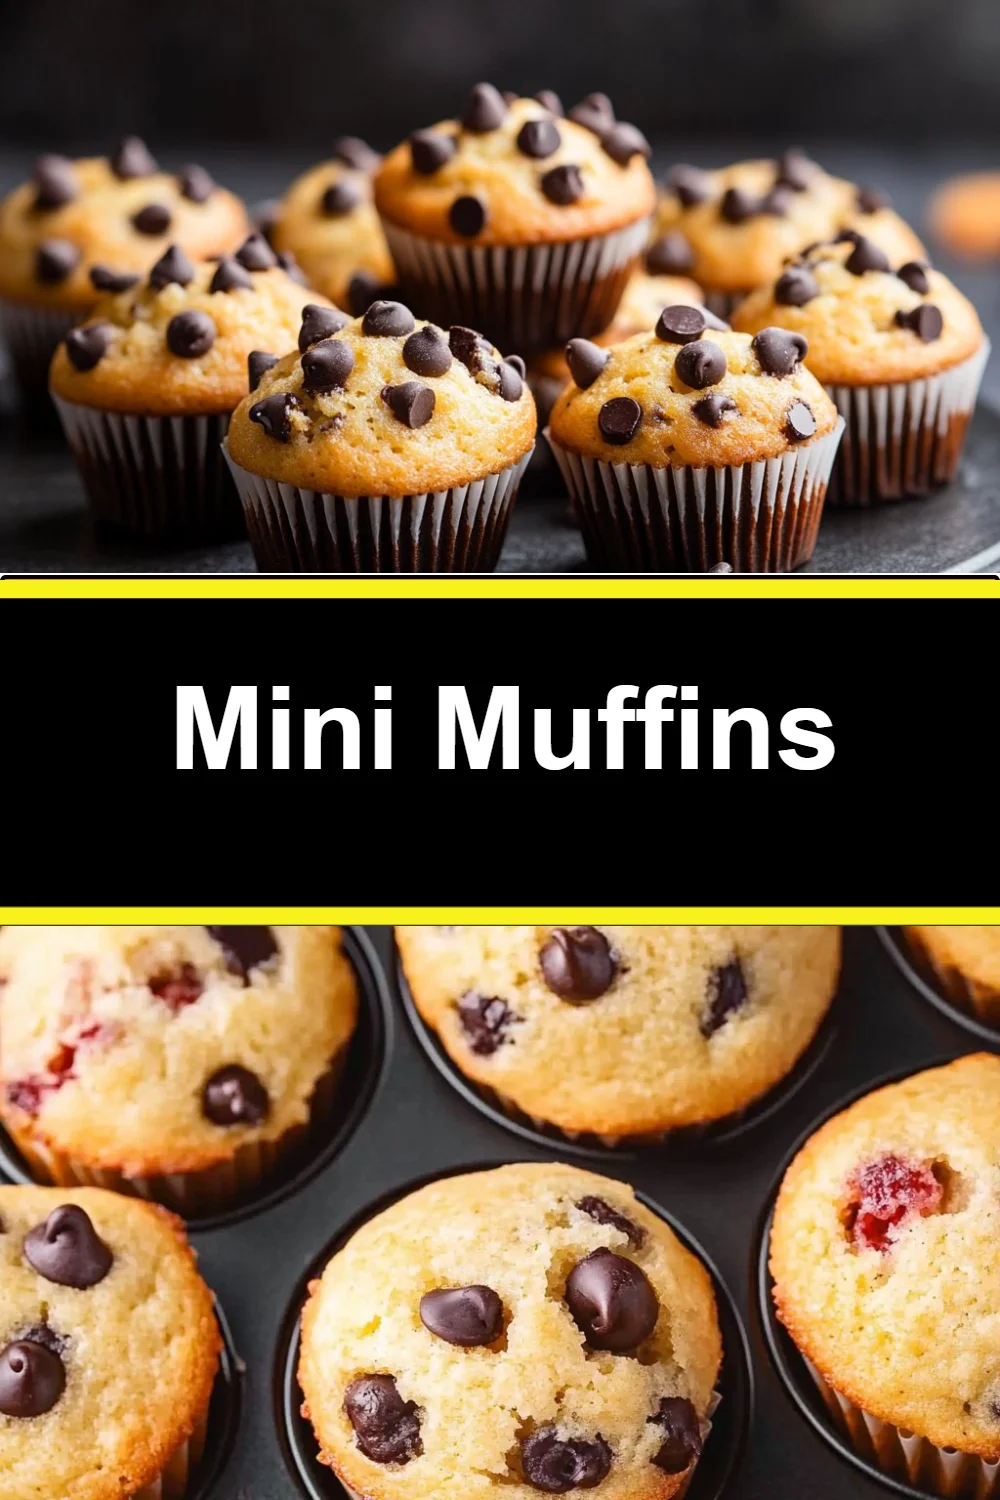
Mini Muffins
I hear my youngest setting little plates on the table, the soft clink of forks like a small drumroll, while a warm, buttery scent rises from the oven. Those tiny muffins always bring everyone to the kitchen—tiny hands, big smiles, and a little argument over who gets the chocolate-topped one. If you love small, cozy treats that fit in the palm of your hand, you might also enjoy a bright dessert like mini lemon cakes with lavender glaze that brighten a rainy afternoon.
Why Mini Muffins is Our New Family Favorite
Mini Muffins carry the same comfort as a larger muffin but in bite-sized joy. They feel right at home on a weekday table because they bake fast, they share easily, and they have that just-baked smell that hushes a room for a moment.
They work for school lunches, coffee breaks with neighbors, or as a quick dessert after dinner. I love how they let everyone pick their toppings and make their own little combination. Meanwhile, they bake in one tray, which keeps dish count low and stress even lower. 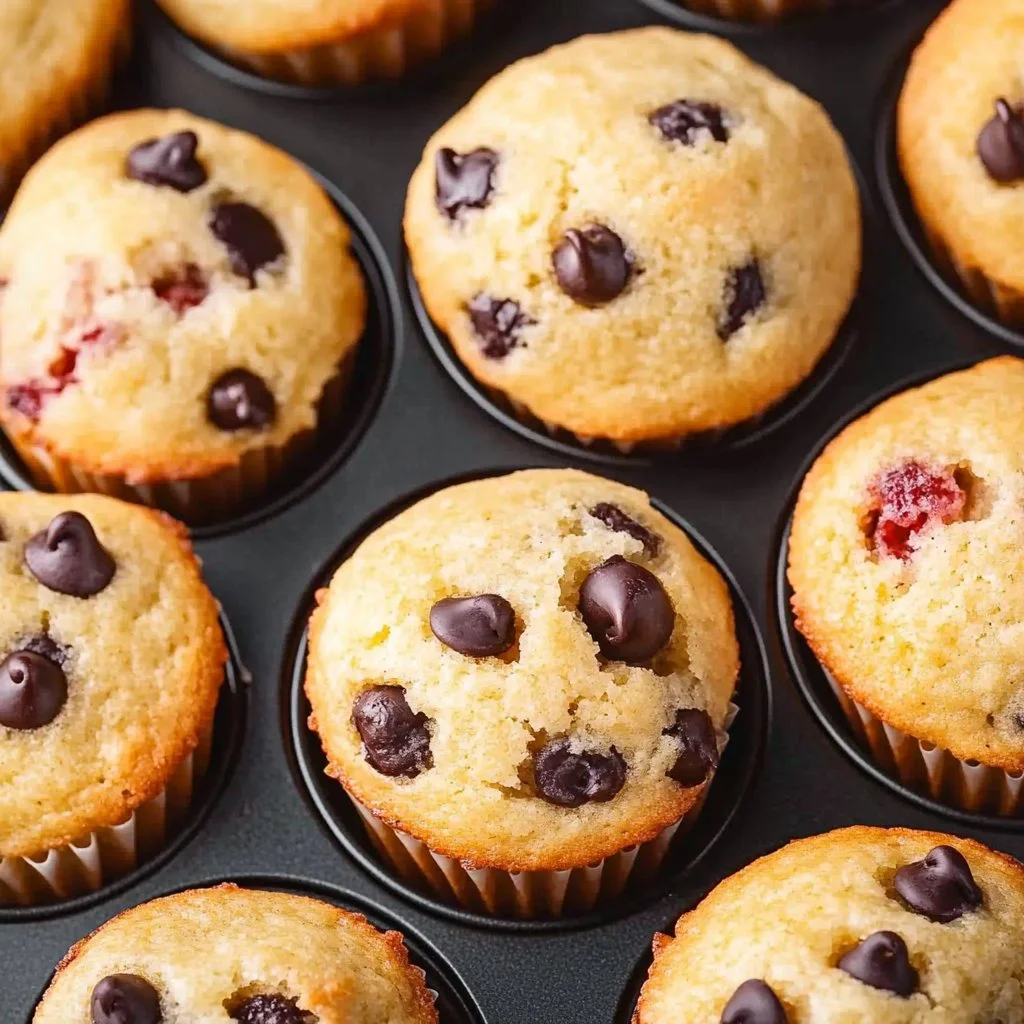
These small treats are especially good when you want to feed a crowd without heating the whole kitchen. The short bake time also makes them forgiving: pull them out when they show a touch of golden brown and the centers spring back.
The Simple Magic Behind Mini Muffins
There is real kitchen logic behind why this recipe always turns out well. The ratio of wet to dry ingredients keeps the crumb tender but sturdy. Using baking powder and a small touch of baking soda gives just enough lift without making them dry.
I learned a trick from my grandmother: don’t overmix. Stir until the dry and wet just get to know each other. Lumps are fine. They disappear in the oven and give a softer texture. That little pause between stirring and scooping is when I let the batter rest for a minute, and the house fills with promise.
How to Make Mini Muffins, The Heartwarming Way
“This is where the magic happens—when the aroma fills the kitchen and my kids come running in, asking ‘Is it ready yet?’”
Start with gentle, clear steps. You will whisk dry ingredients in one bowl, mix dairy and oil in another, then fold them together. The batter is soft but scoopable, and the mini tins fill quickly.
Watch for visual cues: the tops should be a light golden brown, not deeply browned. A toothpick should come out clean or with a few moist crumbs. The edges may pull back a touch from the paper cups. Those little signs tell you the muffins are ready to cool.
Step-by-Step Overview: Keeping It Simple
-
Preheat your oven to 350°F (175°C) and line a mini muffin tin with paper liners.
Preheating makes sure they rise evenly from the moment they hit the heat.
It’s easier than it looks; have liners set before you mix. -
In a mixing bowl, combine flour, sugar, baking powder, baking soda, and salt.
Whisk them well so the leaveners are evenly spread.
This gives a consistent lift in every tiny muffin. -
In another bowl, whisk together milk, oil, and egg.
Whisk until the egg is blended and the liquid looks smooth.
Let the oil warm to room temp if it’s been in a cool pantry. -
Pour the wet ingredients into the dry ingredients and mix just until combined.
Mix gently; a few small lumps are fine.
Overmixing makes muffins tough, so stop once the batter looks unified. -
If desired, fold in chocolate chips.
Use a spatula and a few slow folds.
Let the chips sink slightly into the batter for a pretty top after baking. -
Spoon the batter into the mini muffin tin, filling each cup about 2/3 full.
A small cookie scoop works perfectly and keeps sizes even.
Give each cup a gentle tap to settle the batter and remove air pockets. -
Bake for 10-12 minutes or until a toothpick inserted in the center comes out clean.
Watch closely; mini muffins bake fast and can brown quickly.
A little browning builds flavor, so don’t fear a light golden top. -
Allow to cool for a few minutes before transferring to a wire rack. Serve warm and enjoy!
Cooling a bit helps them finish setting without getting soggy.
Let the kids help arrange them on a plate; it is the fun bit for them!
Ingredients You’ll Need
1 cup all-purpose flour
1/2 cup sugar
1/2 cup milk
1/4 cup vegetable oil
1 large egg
1 teaspoon baking powder
1/2 teaspoon baking soda
1/4 teaspoon salt
1 cup chocolate chips (optional)
Don’t skip the small notes: if you have vanilla, a teaspoon will lift the flavor beautifully. Use what’s in your fridge—swap a bit of milk for buttermilk if you have it for extra tenderness. These are simple ingredients that welcome creativity, not perfection.
Serving Mini Muffins with Love
We set a tray in the middle of the table and let everyone dig in family-style. Some people like them plain; others top them with a smear of butter, a little jam, or a dollop of yogurt. My son prefers to press a toasted almond on top of his. It’s small rituals like that which make a simple snack feel special. 
A jar of jam and a small bowl of softened cream cheese turn these into a spread-your-own dessert station. For brunch, serve them with fruit and a pot of strong coffee. For an afternoon snack, pair with cold milk and a stack of napkins.
If you want to make the moment extra, warm them slightly in a low oven for five minutes and brush the tops with a tiny bit of melted butter. It deepens the color and gives a soft, shining finish that everyone notices.
Storage & Reheat Tips (Keeping the Goodness)
Cool the muffins completely before storing. Warm muffins trap steam and become soft in a different way than you want.
Store at room temperature in an airtight container for up to two days. Line the container with a paper towel to absorb any extra moisture and keep the bottoms from getting soggy.
For longer storage, freeze on a single layer until firm, then transfer to a freezer bag. Thaw at room temperature or pop a few in the microwave for 10–15 seconds for a quick warm-up. The microwave is fine for a quick snack, but the oven at 325°F (160°C) for 5 minutes brings back that just-made warmth and texture.
If you want a make-ahead option for busy mornings, I often bake double and freeze a batch so there is always a quick breakfast or school snack ready.
My Kitchen Notes & Shortcuts
- Use a small cookie scoop to portion batter quickly and evenly. It saves time and makes kids’ jobs easier.
- If you do not have paper liners, grease the tin well and lower the bake time by a minute if tops brown fast.
- Swap half the oil for applesauce in a pinch to lighten them up. I do this when I want a slightly fruitier note.
- Add a teaspoon of cinnamon or orange zest for a subtle flavor change that feels fancy without fuss.
- Let kids press chocolate chips into the tops. They love that job and it keeps them engaged.
These shortcuts keep the soul of the recipe while saving steps. I use them on hectic nights and when I want the ease of minimal prep.
Family-Friendly Variations
Make this recipe your own with a few small swaps. Add mashed banana to the wet mix for extra moisture and a natural sweetener. Stir in blueberries instead of chocolate chips for a bright, summery bite. Try a sprinkle of coarse sugar on top for crunch.
For savory mini muffins, reduce the sugar to a tablespoon, leave out chocolate, and fold in grated cheddar and chopped chives. They make a great side for soups and stews and are an instant hit with picky eaters.
If kids prefer bigger portions, use a standard muffin tin and add three minutes to baking time. These little changes let the recipe fit into your family’s tastes and traditions.
Troubleshooting: What to Do If Things Go Off Track
If the muffins come out dense, you likely overmixed or used too much flour. Next time, measure flour by spooning it into the cup and leveling it off. Stop mixing when you see a few streaks of flour left.
If tops brown too quickly, lower the oven temperature by 15 degrees and add a minute or two of baking time. Ovens vary; know yours. A light golden top and springy center are the signs you want.
If they sink in the middle, the oven was opened too soon or the leavening was old. Replace baking powder or soda every six months to a year and resist peeking in the first few minutes of baking.
FAQs About Mini Muffins
Can I make this ahead for a busy week?
Absolutely. Bake, cool fully, and freeze in a single layer. Thaw at room temperature or warm briefly in the oven. It’s a lifesaver on rushed mornings.
Can I use whole wheat flour?
Yes, but swap only half to start. Whole wheat absorbs more liquid and can make muffins denser. Add a tablespoon more milk if the batter looks firm.
Why did mine turn out too dry?
Dry muffins usually mean overbaking or too much flour. Check at the lower end of the time range, and measure your flour carefully.
Can I substitute the oil for butter?
Yes. Melted butter adds flavor. Use the same amount by volume, and let the butter cool slightly so it does not cook the egg when mixed.
How many mini muffins does this recipe make?
This recipe makes about 24 mini muffins depending on how full you fill the cups. A small cookie scoop gives you consistent sizes.
One Final Thought from My Kitchen
Cooking small, simple things like Mini Muffins holds room for conversation. They are hands-on, forgiving, and joyful to share. I hope this recipe becomes one of those comfort pieces in your kitchen that people ask for again and again.
Conclusion
If you want inspiration for other tiny treats to try, I often turn to reliable recipes like My Best Mini Muffins – Wood & Spoon for different flavor ideas, and I sometimes compare notes with classic versions such as Chocolate Chip Mini Muffins Recipe – Allrecipes for timing tips.
Happy baking, and may your kitchen be full of warmth, small laughs, and the smell of something lovely coming out of the oven.

Mini Muffins
Ingredients
Method
- Preheat your oven to 350°F (175°C) and line a mini muffin tin with paper liners.
- In a mixing bowl, combine flour, sugar, baking powder, baking soda, and salt. Whisk them well.
- In another bowl, whisk together milk, oil, and egg until smooth.
- Pour the wet ingredients into the dry ingredients and mix gently until just combined.
- If desired, fold in the chocolate chips.
- Spoon the batter into the mini muffin tin, filling each cup about 2/3 full.
- Bake for 10-12 minutes or until a toothpick inserted in the center comes out clean.
- Allow to cool for a few minutes before transferring to a wire rack.