Cake Pop di Starbucks
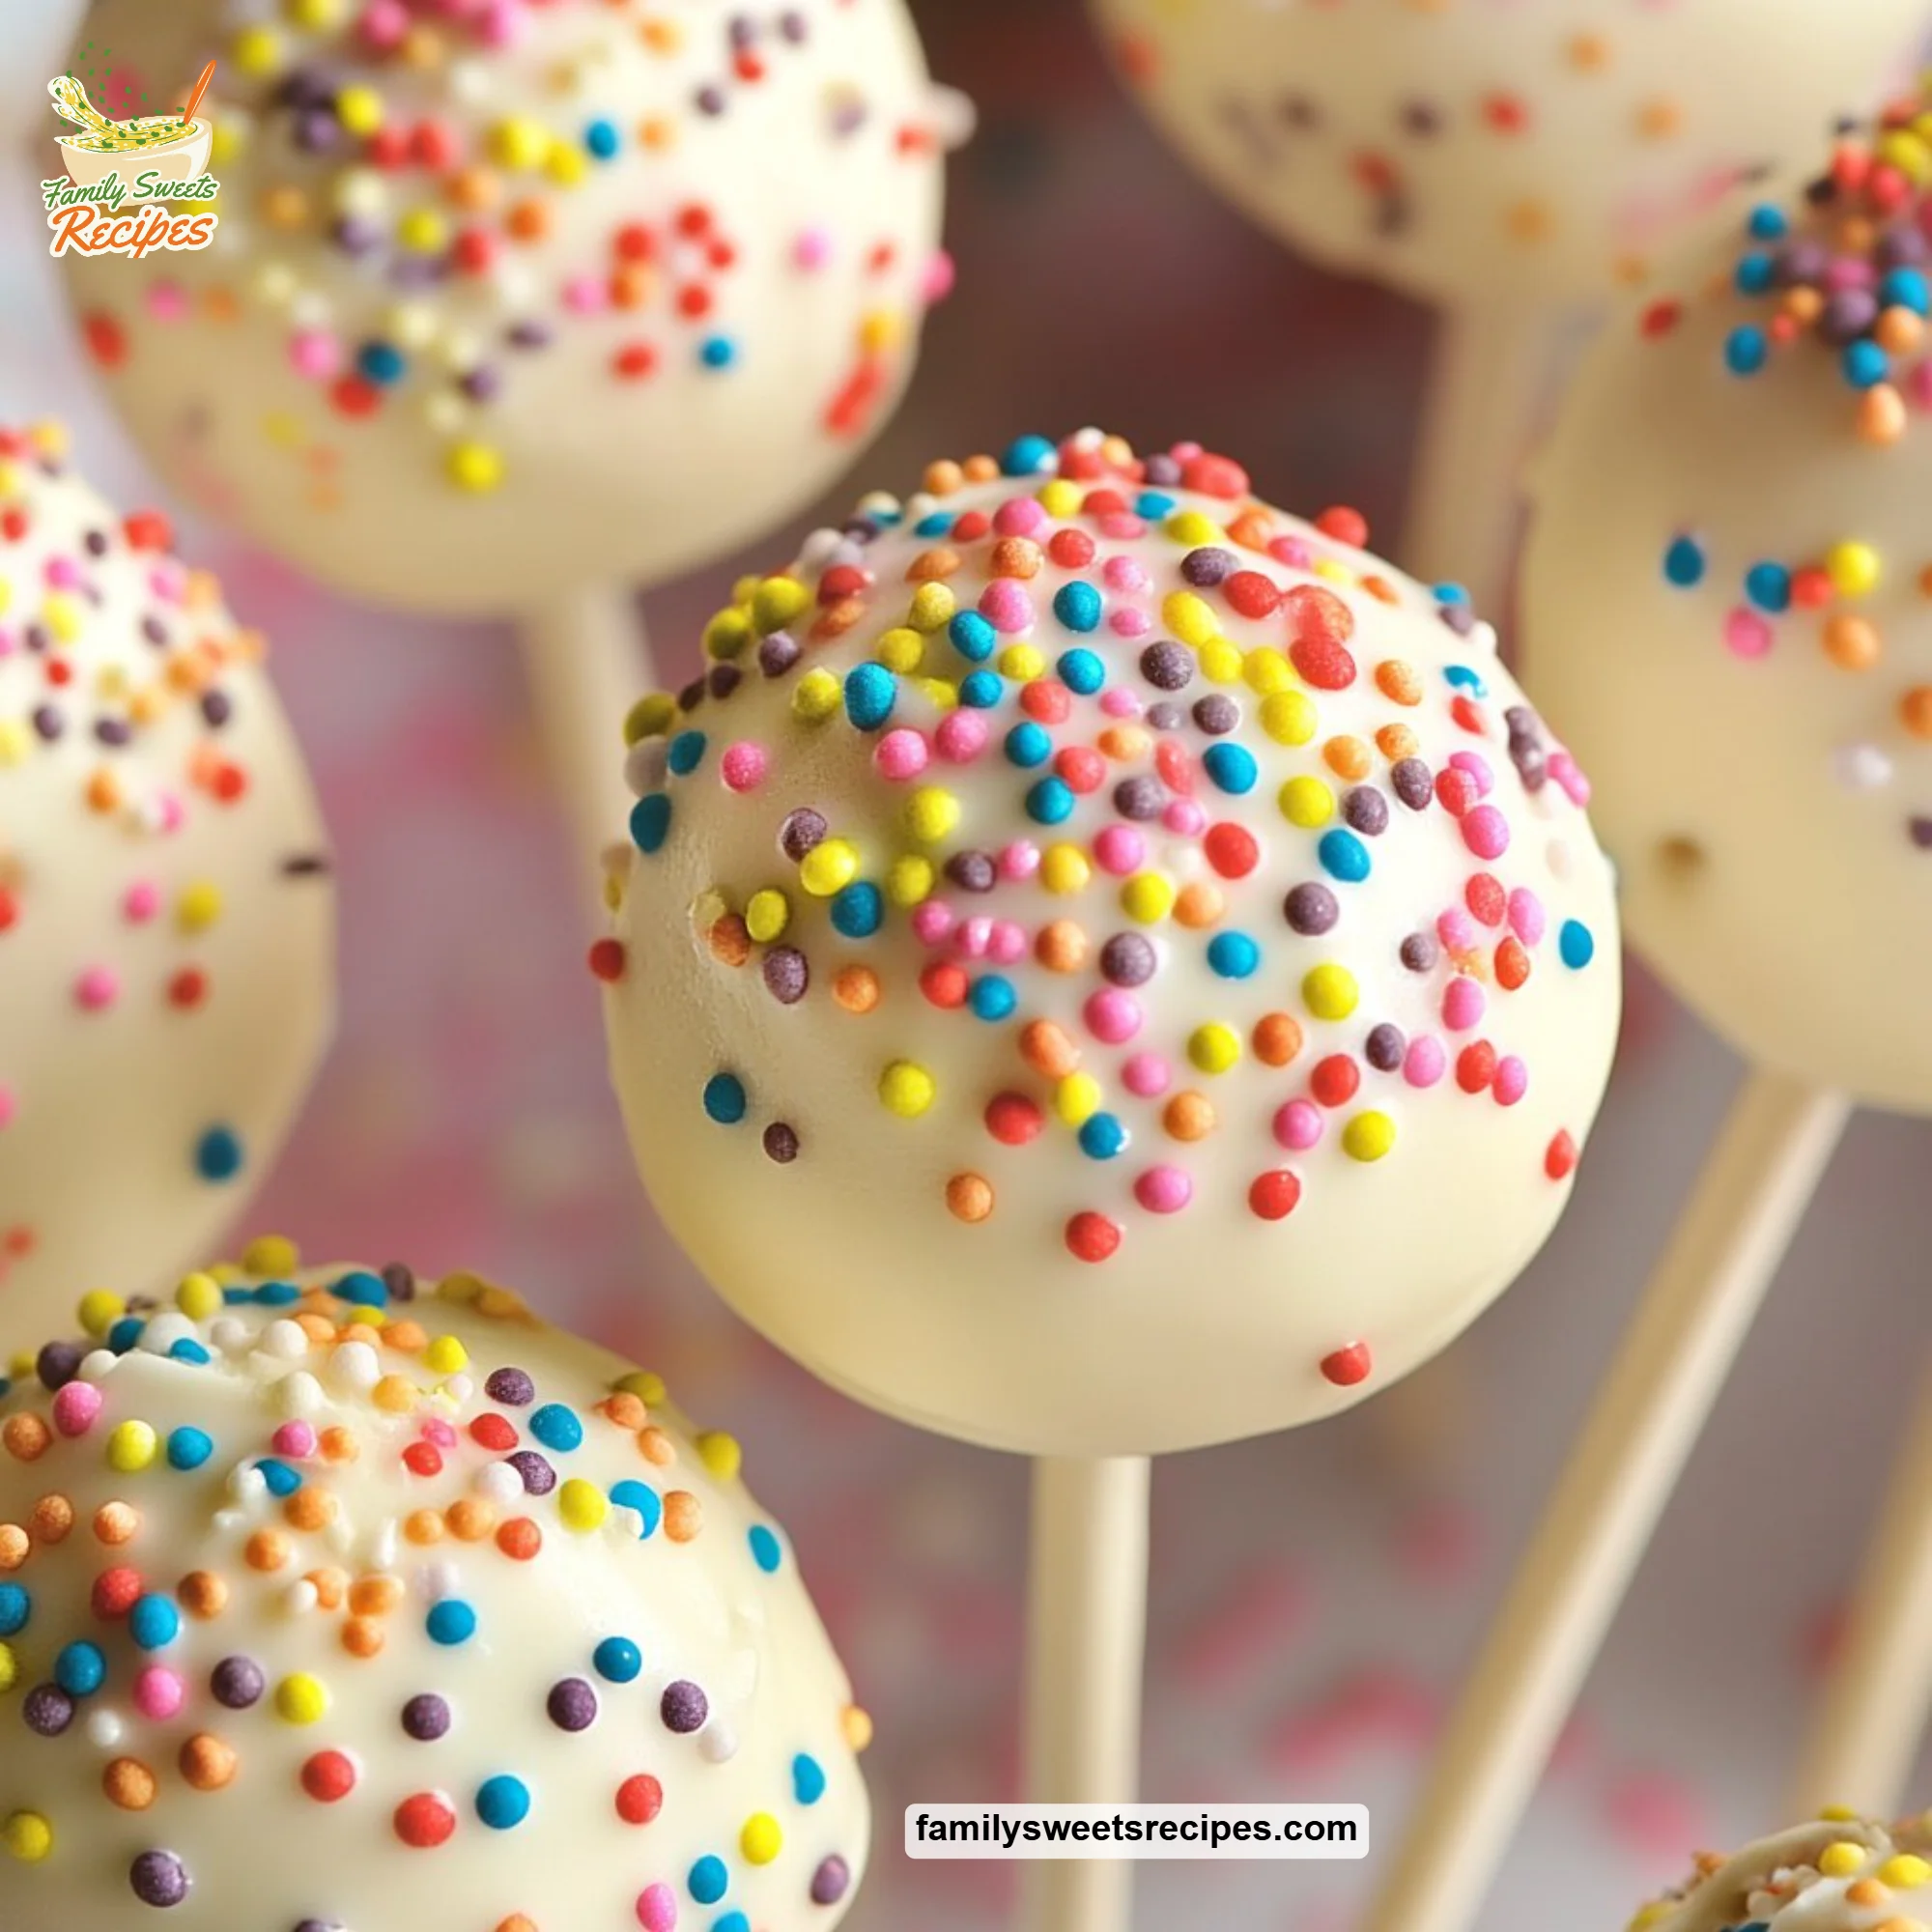
Nothing beats the comforting aroma of vanilla cake wafting through your home, mingling with the cheerful sounds of laughter in the kitchen. Today, I want to share a special treat that takes us back to delightful trips to Starbucks: Cake Pops. These little wonders are not just about indulgence; they bring joy and creativity into our family cooking time.
Why this works

Making cake pops is a convenient and fun way to spend quality time with family. It’s perfect for baking novices and seasoned pros alike. The best part? You can whip these up quickly, allowing for more time connecting with your loved ones.
There’s something magical about rolling up your sleeves, working together, and creating something delicious from just a few simple ingredients. These cake pops will spark smiles and create memories that linger long after you’ve finished the last bite.
Process Overview
“This is where the magic happens—when the aroma fills the kitchen.”
Baking is not just about following a recipe. It’s about getting immersed in the process. From mixing the cake batter to the moment you see those little cake pops perfectly dipped in colorful candy, every step is an adventure.
While the cake is baking, you’ll find yourself humming along to your favorite song and enjoying the time spent in the kitchen. Just envision your family gathered around the table, ready to create these delightful treats together.
Ingredients
For a batch of delicious Cake Pops, you’ll need:
- 1 box di miscela di torta alla vaniglia
- 1 tazza di glassa
- 1 sacchetto di caramelle fusi
- Bastoncini per leccarsi le dita
- Decorazioni (facoltativo)
Lily’s Personal Tips:
- When choosing a cake mix, opt for a brand that promises moistness. This will ensure your pops are soft and delicious.
- For the frosting, vanilla is classic, but feel free to try chocolate or cream cheese for a twist.
- Look for melting candies in a variety of colors. They can brighten up your cake pops and appeal to the kids.
- If you want a fun family activity, set up a decorating station with sprinkles and sugars so everyone can personalize their pops.
- Use sturdy sticks to ensure they hold up when being dipped and eaten—no one wants a surprise pop falling apart!
Directions
- Prepara la torta secondo le istruzioni sulla confezione e lasciala raffreddare completamente. Be patient; this will ensure the pops hold their shape.
- Sbriciola la torta raffreddata in una ciotola e mescola con la glassa fino a ottenere un composto ben amalgamato. Use your hands to really combine everything; this is where you can unleash your creativity!
- Forma delle piccole palline di composto e disponile su una teglia rivestita di carta forno. Aim for about 1 inch in diameter—just the right size for a bite.
- Inserisci un bastoncino in ciascuna pallina e metti in freezer per circa 30 minuti. This step helps everything set nicely and makes for easier dipping later.
- Sciogli le caramelle seguendo le istruzioni sulla confezione. Stir well to get a smooth consistency—this makes for a beautiful coat.
- Immergi ogni cake pop nella caramella fusa e riponi di nuovo sulla carta forno. Make sure to coat it fully for that irresistible shine.
- Facoltativo: prima che la caramella si indurisca, aggiungi le decorazioni. Get creative! You can make them festive for birthdays or seasonal events.
- Lascia indurire completamente la caramella prima di servire. Patience is key here—allowing them to set perfectly will enhance your treat.
Serving

To serve your cake pops family-style, arrange them on a beautiful platter or even in a small vase as a fun centerpiece. They create a cheerful atmosphere at any gathering, whether it’s a family night in or a celebration with friends. Encourage everyone to take a few, share their favorites, and enjoy the satisfaction of their hard work.
Storage
If you have any cake pops left over (which is rare!), store them in an airtight container in the fridge. They will keep fresh for about a week. You can also freeze them for up to three months. Just make sure to wrap them carefully to preserve their taste and texture. When ready to enjoy, let them thaw on the counter for a bit before serving.
Kitchen Notes
- Use a cookie scoop for even-sized cake pops.
- If you’re short on time, you can make the cake the day before.
- To avoid a mess, consider using a deep bowl for melting the candies—this will give you better coverage.
- If your dipping chocolate is too thick, add a bit of vegetable oil to thin it out.
- Get the kids involved for a fun bonding experience; they will love participating in the decorating!
Variations
Not everyone has the same tastes, and that’s okay! Here are some tweaks you can try:
- For a gluten-free option, substitute the cake mix with a gluten-free version.
- Try using different flavors of cake mixes, like chocolate or red velvet.
- For those who prefer healthier options, you can use a nut butter or yogurt instead of frosting to bind the cake crumbs.
- Make mini cake pops—or even cake bites—if you want smaller treats.
- Experiment with various coatings like white chocolate or dark chocolate for different flavor profiles.
FAQ
1. Can I make cake pops without frosting?
Yes, you can use other binders like yogurt or cream cheese, but frosting gives them a richer flavor.
2. Can I use homemade cake for this recipe?
Absolutely! Just ensure it’s cooled and crumbled finely.
3. How long do cake pops take to make?
From start to finish, you’re looking at about 1.5 to 2 hours, including cooling time.
4. Can I use food coloring in the melted candy?
Certainly! This adds a personalized touch to your cake pops and can make them festive for special occasions.
5. How can I avoid cracks in the candy coating?
Make sure the cake pops are cold before dipping; this helps the chocolate or candy coating to adhere smoothly.
Conclusion
Baking should always be about joy, connection, and delicious results. These Starbucks-style cake pops are a perfect way to unite your family over a sweet and simple project. Every bite represents laughter and fun, making your time together even more special. Give this recipe a try, and create your own memorable moments in the kitchen. Happy baking!

Starbucks-Style Cake Pops
Ingredients
Method
- Prepara la torta secondo le istruzioni sulla confezione e lasciala raffreddare completamente.
- Sbriciola la torta raffreddata in una ciotola e mescola con la glassa fino a ottenere un composto ben amalgamato.
- Forma delle piccole palline di composto e disponile su una teglia rivestita di carta forno.
- Inserisci un bastoncino in ciascuna pallina e metti in freezer per circa 30 minuti.
- Sciogli le caramelle seguendo le istruzioni sulla confezione.
- Immergi ogni cake pop nella caramella fusa e riponi di nuovo sulla carta forno.
- Facoltativo: prima che la caramella si indurisca, aggiungi le decorazioni.
- Lascia indurire completamente la caramella prima di servire.