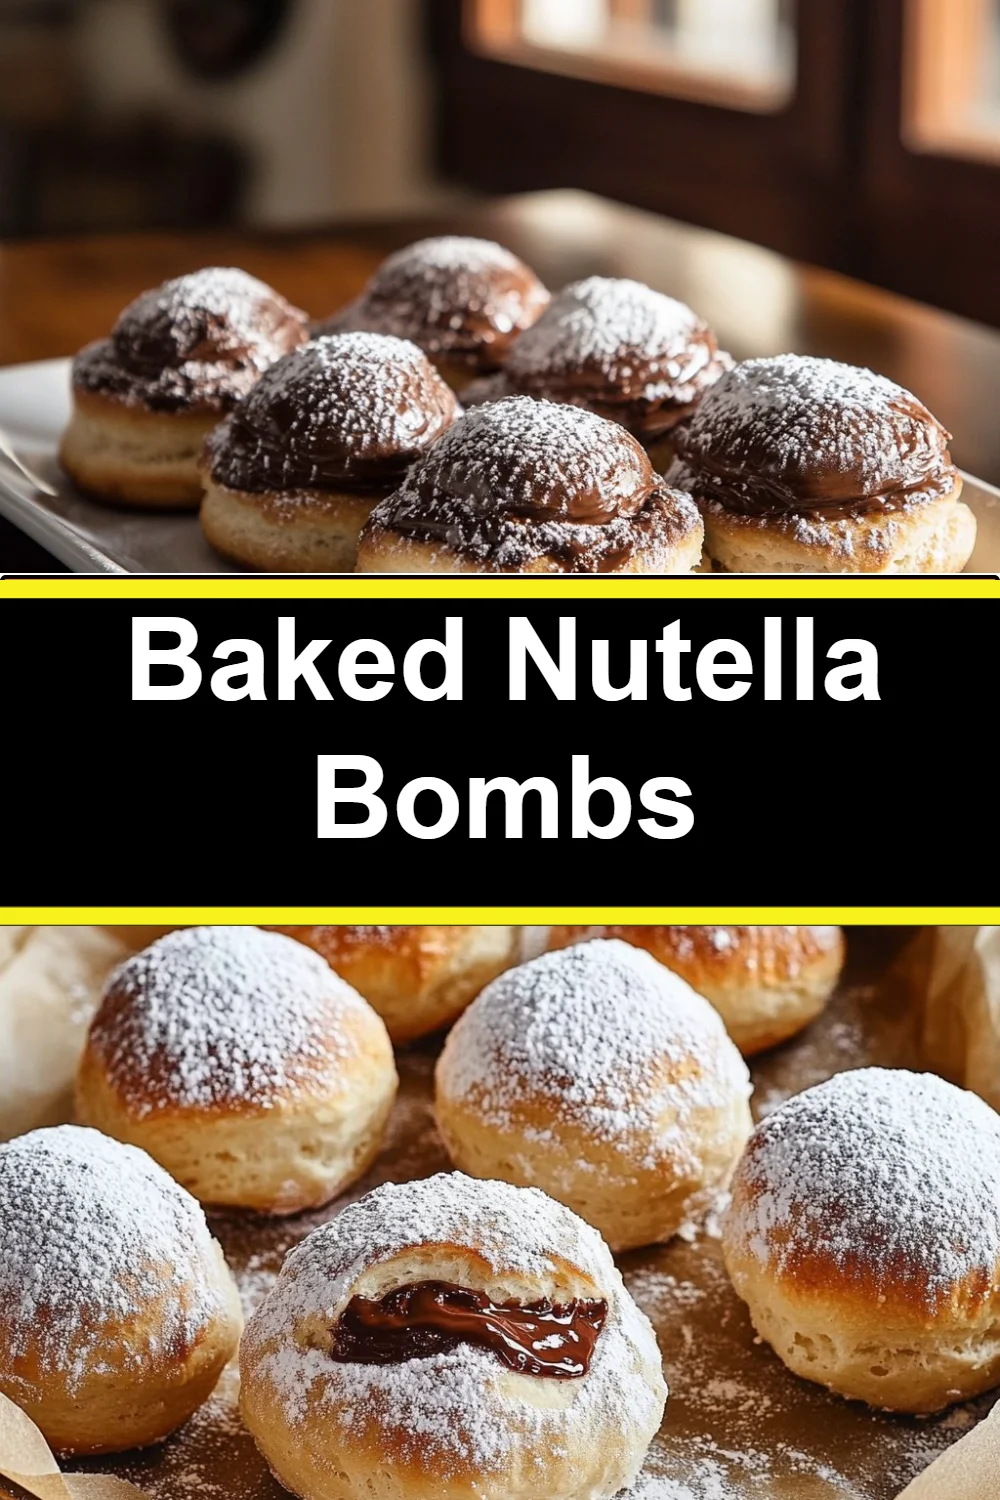
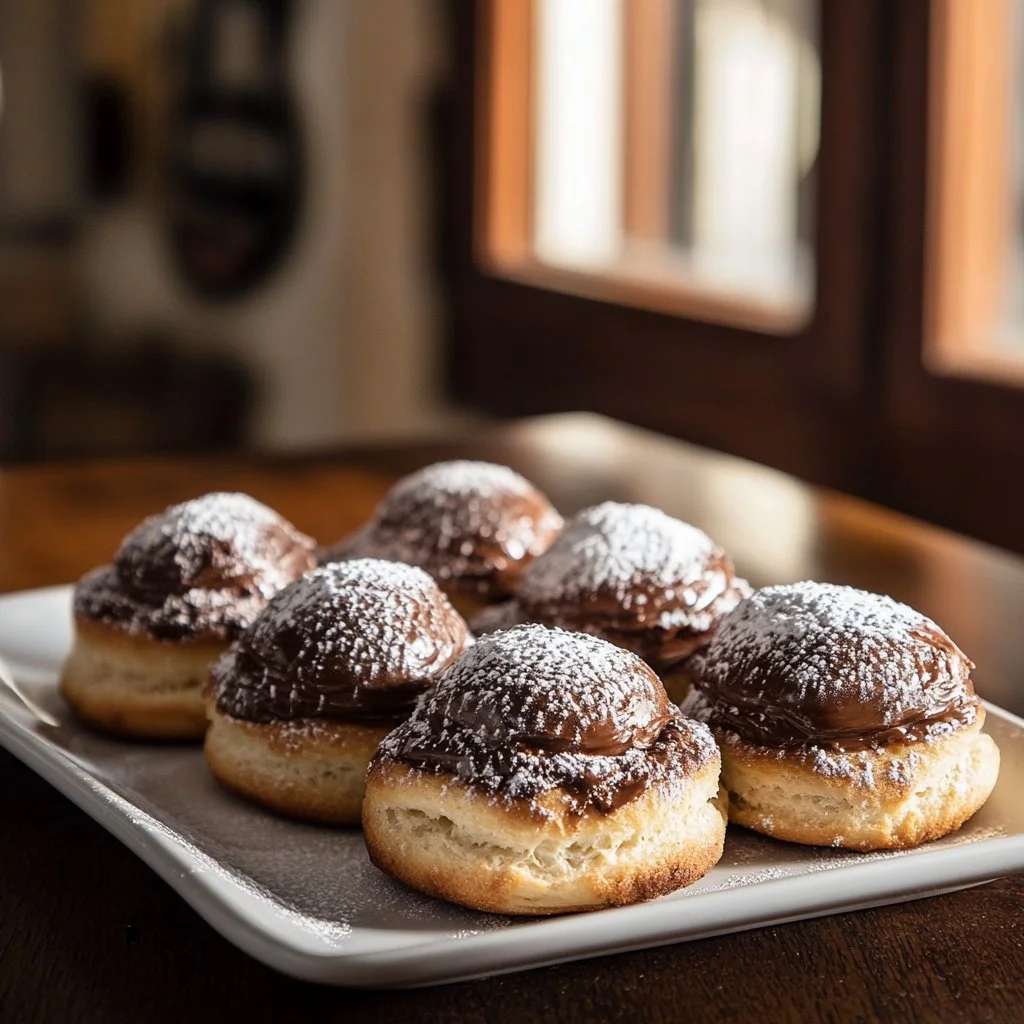
Baked Nutella Bombs
Warmth from the oven, the soft clatter of plates, and my kids arguing playfully over who gets the first bite. That moment, right there, is the heart of why I love making simple sweet treats like these Baked Nutella Bombs. If you enjoy quick, comforting bites that become a shared memory, you might also like exploring other playful desserts that bring everyone to the table, such as my take on panzerotti alla Nutella that we make on slow Sundays.
Why This Baked Nutella Bombs Feels Like Home
There is a very particular smell when Nutella and warm dough meet. It curls into the corners of the kitchen and calls everyone in. For me, this is the same scent that meant visits to my grandmother’s house, where sweet and simple treats were always waiting.
These Baked Nutella Bombs feel like home because they are fast, forgiving, and full of familiar flavor. They do not need fancy equipment. You can make them while helping with homework, or while the pasta sauce simmers. They are the kind of recipe that invites conversation, and sometimes a little playful chaos.
Why does this recipe matter? It is quick to make, calls for pantry-friendly ingredients, and suits both a weekday treat and a small celebration. It also teaches kids a tiny bit of kitchen confidence. Meanwhile, the final result looks special even though it is wonderfully simple.
If you want another quick dessert idea that uses similar sweet-everyday comfort, try a version of soft, stuffed breads like this caramel apple pie bombs for autumn afternoons.
How to Make Baked Nutella Bombs, The Heartwarming Way
“This is where the magic happens—when the aroma fills the kitchen and my kids come running in, asking ‘Is it ready yet?’”
Start with soft biscuit dough and generous spoonfuls of Nutella. The dough bakes into a golden shell that gives in to a warm molten center. You want a delicate brown on the outside and a glossy, oozy middle. The cues I watch for are a gentle rise in the dough, a light golden color, and that smell that reads like a hug.
From there, the process is all friendly steps. Roll, fill, seal, brush, and bake. It is easier than it looks. Give it a try and you might surprise yourself. Below I walk through the comforting, step-by-step method that keeps kitchen stress low and joy high.
Step-by-Step Overview: Keeping It Simple
-
Preheat your oven to 350°F (175°C).
Preheating sets you up for even baking. I always put the rack in the center for a balanced color.
Tip: If you have a convection oven, lower the temperature by 25°F and check a minute or two earlier. -
Roll out the biscuit dough and cut it into small circles.
Use a rolling pin or your hands, keeping the dough lightly floured to prevent sticking.
Encouragement: Let the kids help press the circles. They love being in charge of the shapes. -
Place a small spoonful of Nutella in the center of each circle.
Keep the spoonful modest so the dough can fully seal without leaking.
Kitchen note: If Nutella is too thick, warm it briefly in the microwave for 10 seconds and stir. -
Fold the dough over to create a ball and pinch the edges to seal.
Press firmly around the seam to lock the filling inside. A little pinch seals all the joy in.
Tip: Moisten the edge with a tiny drop of water if it seems dry and won’t stick. -
Place the balls on a lined baking sheet.
Give each ball a little space so they can puff without sticking together.
Pro tip: Use parchment paper for easy clean up and even browning. -
Beat the egg and brush it over the tops of the dough balls.
The egg wash gives a shiny, golden finish and helps any sprinkling of sugar adhere.
Encouragement: This is the part where things look very professional, so take a breath and enjoy that little flourish. -
Bake for 12-15 minutes or until golden brown.
Watch for a soft, deepening color. A little browning builds flavor, just like my grandmother taught me.
Note: Ovens vary, so check at 11 minutes the first time you make them. -
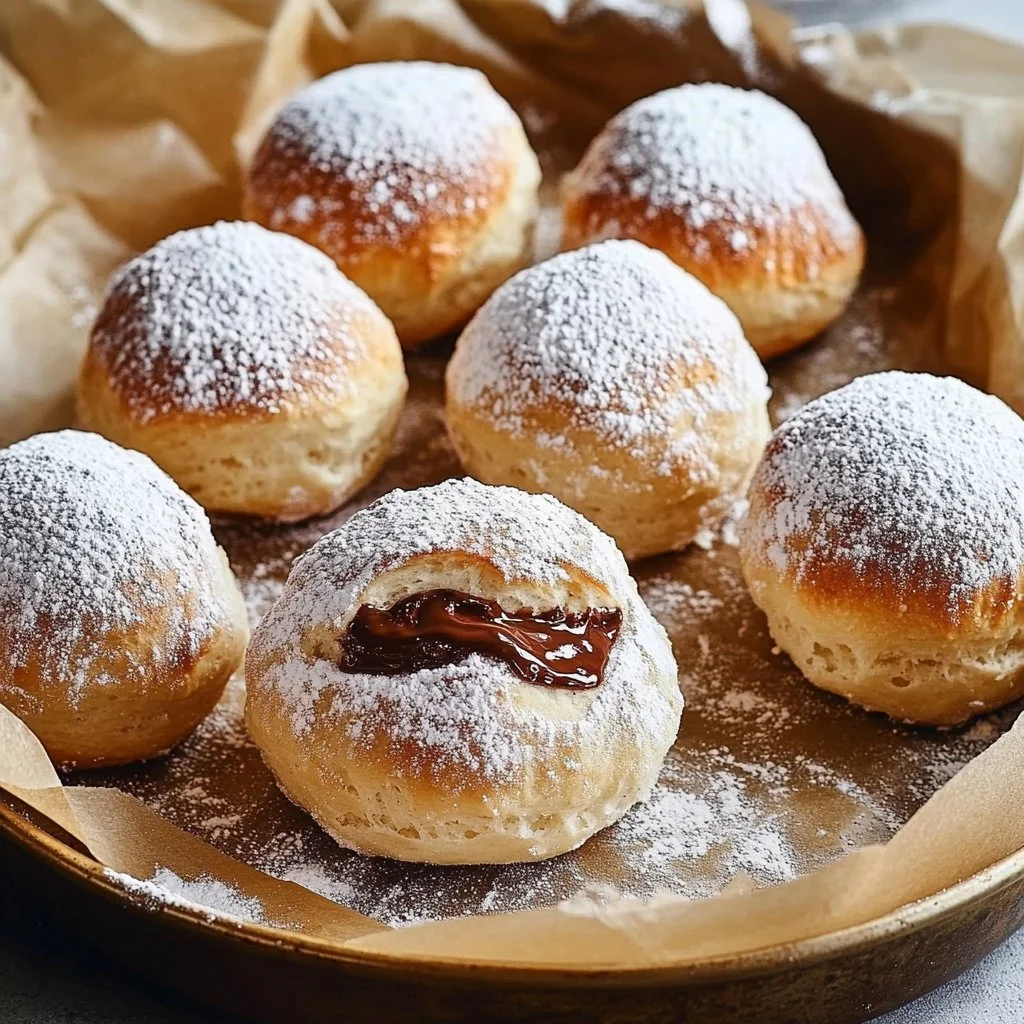
Let cool slightly before dusting with powdered sugar and serving.
Let them rest 5 minutes so the filling settles to a safer, luscious temperature.
Family tip: Serve warm and let everyone dust their own. Kids love that finishing touch.
Ingredients You’ll Need
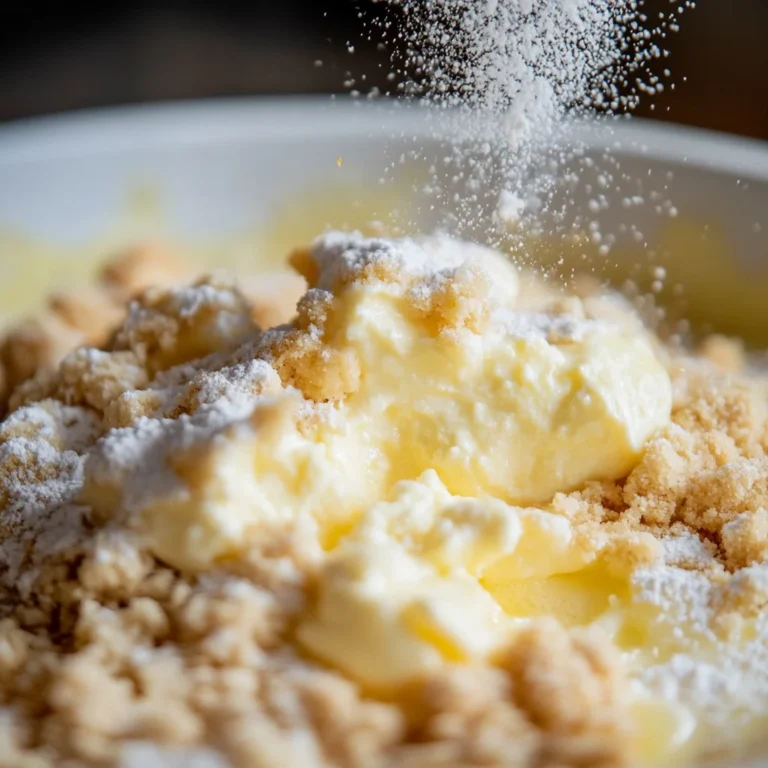
What goes into our Baked Nutella Bombs is simple, which is part of their charm.
- 1 can of refrigerated biscuit dough
- 1 cup Nutella
- 1 egg (for egg wash)
- Powdered sugar (for dusting)
Side note: Don’t be shy about using what you have. If you prefer a different chocolate spread, it will still bring a lot of love to the table. The goal is comfort and connection, not perfection.
Preparing Baked Nutella Bombs Without the Stress
The cooking process is short and forgiving, which makes this ideal for busy nights or for when you want to show up with a small, sweet celebration. The dough puffs and browns quickly. The Nutella melts into a smooth center. The result is a little parcel of warmth that seems to say, “Let’s stay a little longer at the table.”
When you see a pale golden top and the edges are set, you are in good shape. If a bit of filling peeks out, no harm done. Patch it with a pinch of dough and press to seal next time. Over time you will develop a sense for how much filling your dough will happily hold.
If you are feeding little ones, pop the bombs into a cooled oven for a minute longer after turning it off to ensure the centers are just warm rather than very hot.
Serving Baked Nutella Bombs with Love
We serve Baked Nutella Bombs family-style in the middle of the table. A warm platter, a little bowl of powdered sugar, and maybe extra Nutella for drizzling makes everything feel celebratory and communal.
I like to place a small tray with optional toppings: chopped hazelnuts, a sprinkle of sea salt, or a few berries. One child loves them with a dusting of extra sugar, another prefers to dip into extra Nutella. It becomes a small ritual that sparks conversation.
Pair them with coffee for adults or warm milk for kids. If I am making them as a dessert after a simple dinner, I might also bring out a bowl of fresh fruit to balance the sweetness.
When we share these at gatherings, I tell a short story about how I learned to fold dough with my grandmother. It always makes the moment softer and the food taste even better. For an autumn twist, pair them with a spiced apple compote, similar in spirit to the comfort of these caramel apple pie bombs I sometimes make.
Storage & Reheat Tips (Keeping the Goodness)
Store cooled Baked Nutella Bombs in an airtight container at room temperature for up to two days. If you want them to last longer, place them in the fridge for up to five days, though a quick reheat is best for texture.
To reheat:
- Microwave: 10 to 15 seconds will warm the center for a fast snack. This is fine for a quick fix.
- Oven: 5 to 8 minutes at 325°F brings back a just-baked feel and restores a little crisp on the outside.
Honest advice: The oven is kinder to the texture. Use the microwave when short on time, and the oven when you want them to feel freshly baked again.
If you made too many and want to freeze, wrap each bomb in plastic and place in a freezer bag for up to one month. Thaw at room temperature and reheat gently in the oven.
My Kitchen Notes & Shortcuts
What I have learned from making these repeatedly is that small preparations make the whole process smoother. Here are a few of my shortcuts and swaps that keep things simple and joyful.
- Make ahead tip: Assemble the balls and freeze them on a tray. Once solid, transfer to a bag. Bake from frozen, adding a couple of minutes to the bake time.
- Substitution: Use crescent roll dough or pre-made sweet dough if you do not have biscuit dough. The results differ slightly in texture but remain delicious.
- Kid-friendly task: Let children press the seams and brush the egg wash. It builds ownership and they love showing off their work.
- Flavor twist: Add a pinch of cinnamon to the Nutella before filling for a warm, cozy note.
- Texture note: For a crunchy finish, press a few chopped nuts on top before baking.
Also, for another playful stuffed-bread idea I use when I want a heartier version at brunch, I sometimes rely on techniques I learned from stuffed bread recipes like panzerotti alla Nutella and adapt them to a smaller, faster format.
Family-Friendly Variations
Make these Baked Nutella Bombs your own by using simple swaps. The idea is to encourage creativity, not to follow the recipe with reverence.
- Mini marshmallow surprise: Add one mini marshmallow with the Nutella for a s’mores-like center kids adore.
- Fruit and chocolate: Place a small slice of banana or a raspberry with the Nutella for a fruity lift.
- Peanut butter cup: Add half a peanut butter cup instead of Nutella for a peanut-chocolate combo.
- Lighter version: Use a thin layer of chocolate spread and more dough for a subtler sweet bite.
- Savory twist: Try a sweet-savory angle with a smear of Nutella and a sprinkle of sea salt and toasted hazelnuts.
Invite your family to suggest variations. Often those suggestions become the new “family way” to make them.
FAQs About Baked Nutella Bombs
Q: Can I make this ahead for a busy week?
A: Yes. Assemble and refrigerate for up to a day, or freeze for longer. Let them warm slightly before baking if you stored them in the fridge.
Q: My Nutella leaked. How do I avoid that?
A: Use slightly less filling and press the seams firmly. A small dab of water on the edge helps the dough stick better.
Q: Can I use homemade dough?
A: Absolutely. Use a soft, pliable dough that can stretch without tearing. If it is too dry, add a touch of water to bring it together.
Q: What if the center is too hot for kids?
A: Let them cool on a rack for 5 to 10 minutes. You can also cut one open to test and share small, safe bites.
Q: Any tips for a shiny, golden finish?
A: The egg wash is the trick. Brush gently and avoid pools of egg wash around the base of each bomb.
One Final Thought from My Kitchen
Until next time, happy cooking! I hope these Baked Nutella Bombs offer you a pocket of warmth in a busy day. They have given us small, bright moments around our table, from quick midweek treats to weekend celebrations. When a recipe is quick, forgiving, and instantly loved by the kids, it earns a permanent place in the rotation.
If you try this recipe, tell me what twist your family loved. My grandmother’s kitchen would be smiling if she could see how something simple can gather people close.
Conclusion
If you want a similar idea adapted for a different tool, there is a wonderful version specifically made for an air fryer that shows how the same concept works across equipment and textures in Air Fryer Nutella Bombs – I Am Baker. For another stuffed-bread spin that inspired some of my shaping techniques, read this inventive take on Nutella Bread Bombs | Ash Baber.

Baked Nutella Bombs
Ingredients
Method
- Preheat your oven to 350°F (175°C).
- Roll out the biscuit dough and cut it into small circles.
- Place a small spoonful of Nutella in the center of each circle.
- Fold the dough over to create a ball and pinch the edges to seal.
- Place the balls on a lined baking sheet with space between them.
- Beat the egg and brush it over the tops of the dough balls.
- Bake for 12-15 minutes or until golden brown.
- Let cool slightly before dusting with powdered sugar and serving.