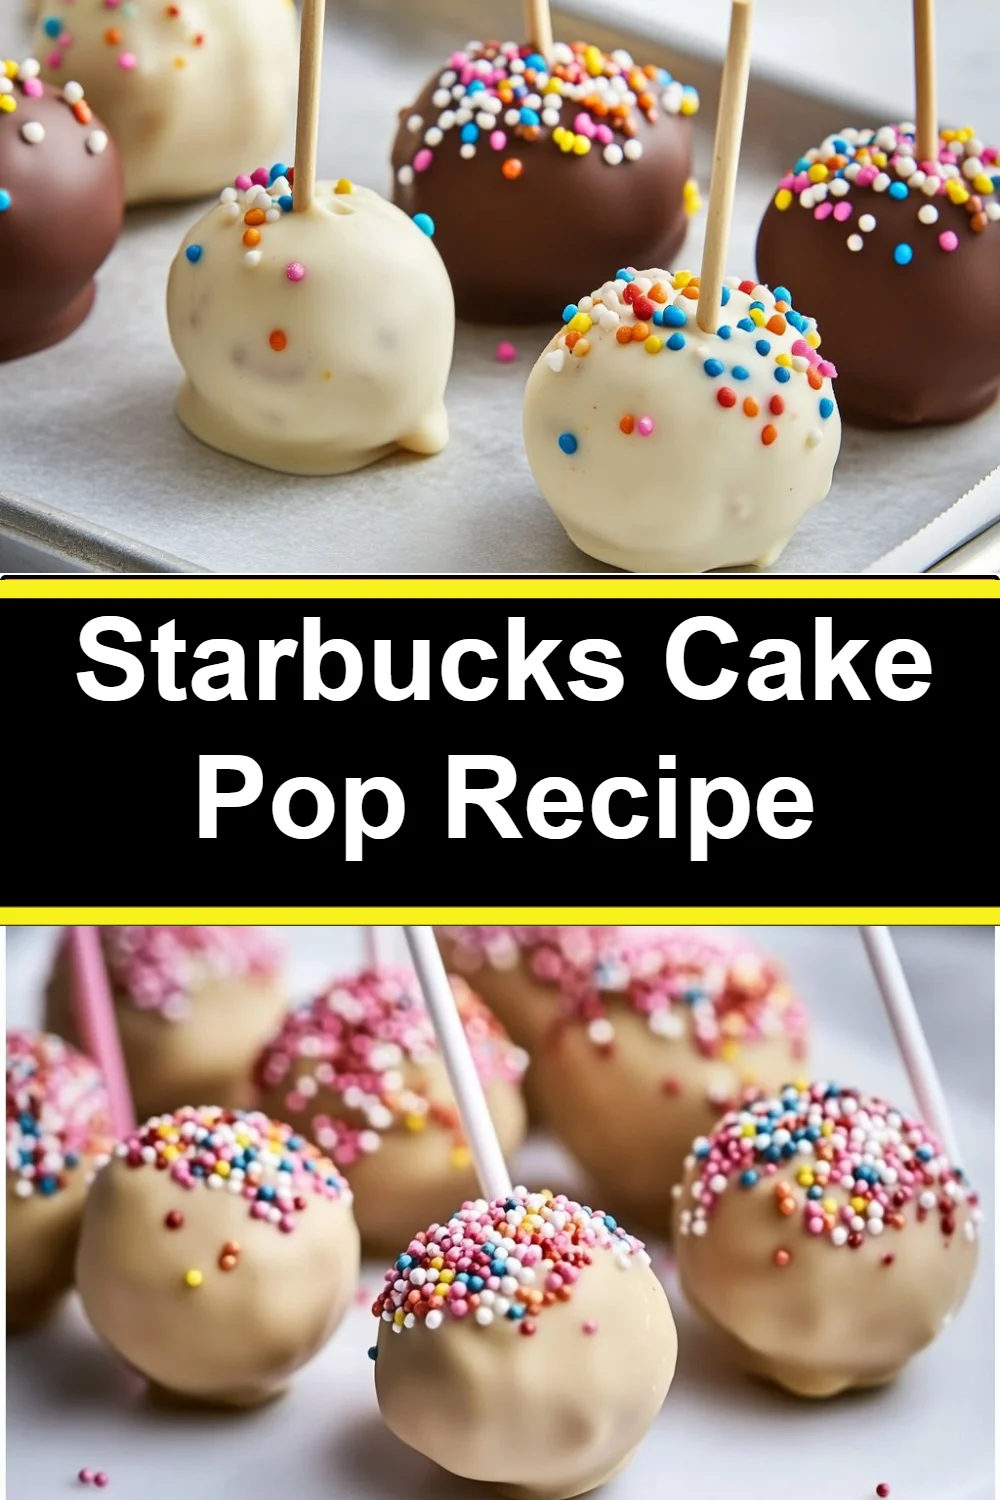
Starbucks Cake Pop Recipe
Each time I step into the kitchen, I find myself enveloped in a comforting rhythm that feels like home. The lively chatter of my kids setting the table mingles with the aromatic wafts of something delightful baking in the oven. There’s nothing quite like gathering around a table, watching as eager hands reach for a sweet treat. One of those delightful treats that brings everyone together is none other than the beloved Starbucks cake pop. These bite-sized morsels of joy carry a nostalgia that takes me back to cozy café moments. Today, I’m excited to share my take on this cherished favorite, and I hope it brings as much warmth and happiness to your family as it does to mine.
Why This Starbucks Cake Pop Recipe Feels Like Home
There’s something magical about making cake pops. They remind me of joyful afternoons spent crafting fun treats with my children. We laugh, sneak bites of cake batter, and enjoy the process as much as the delicious outcome. Making these Starbucks cake pops is not just about the end product; it’s about the memories created along the way. The colors, the textures, the sweet aroma that fills the kitchen all come together to create a kind of magic that feels familiar and comforting.
From their vibrant appearance to the delightful taste that dances on your palate, these cake pops have a way of bridging generations. With the simplest ingredients and a little love, they transform into a special treat that everyone clambers for. Whether it’s for a birthday party, a simple after-school snack, or a cozy family movie night, these cake pops feel like home.
The Simple Magic Behind Starbucks Cake Pop Recipe
Creating Starbucks cake pops is a delightful experience, one that can fit seamlessly into our lives. The simplicity of the recipe means you can whip them up without stress, even on the busiest days. Everything about this recipe feels accessible, yet special. As you mix, bake, and dip, you are not just following a recipe but creating connections and memories with your family.
These cake pops don’t require several pans or hours in the kitchen. Instead, they offer a heartfelt way to enjoy quality time together. There’s joy in the simple act of creating something tasty, especially when it brings a smile to your loved ones’ faces. This recipe matters because it marries the effortless yet special experience of home cooking. Let’s dive into how you can bring this whimsical treat to life in your kitchen.
How to Make Starbucks Cake Pop Recipe, The Heartwarming Way
Creating delicious Starbucks cake pops is easy and fun. The moment you start mixing the cake, you’ll feel the excitement in the air. The aroma fills your kitchen, creating a cozy environment where creativity flourishes. Picture your little ones waiting impatiently, asking, “Is it ready yet?” You’ll know you’re on the right track when the cake crumbles just perfectly, and the melted chocolate glistens invitingly.
Ingredients You’ll Need
To create these delightful cake pops, you’ll need the following simple ingredients:
- 1 box vanilla cake mix
- 1 cup frosting (vanilla or cream cheese)
- 1 cup melting chocolate or candy melts
- Lollipop sticks
- Sprinkles (optional)
Gathering these ingredients is straightforward, and you may find you have most of them right in your pantry. Remember, don’t hesitate to get creative. If you have a favorite frosting or candy melts in another flavor, go for it. This recipe is about making it your own.
Step-by-Step Directions
It’s time to get hands-on and create those delightful cake pops. Here’s how to do it step by step:
-
Prepare the vanilla cake mix according to package instructions and bake in a baking pan. Allow to cool completely. Make sure your kitchen is filled with the sweet aroma that signals something special is in the works.
-
Crumble the cooled cake into a large bowl. Add frosting and mix until well combined. Don’t be afraid to get your hands in there – it’s all part of the fun and the love that goes into this treat.
-
Form the mixture into small balls and place them on a baking sheet. Refrigerate for about 30 minutes to firm up. This step is essential, as it helps the balls hold their shape when you dip them.
-
Melt the chocolate or candy melts in a microwave or double boiler. Keep an eye on it; you want it just melted and smooth to give your cake pops a beautiful coating.
-
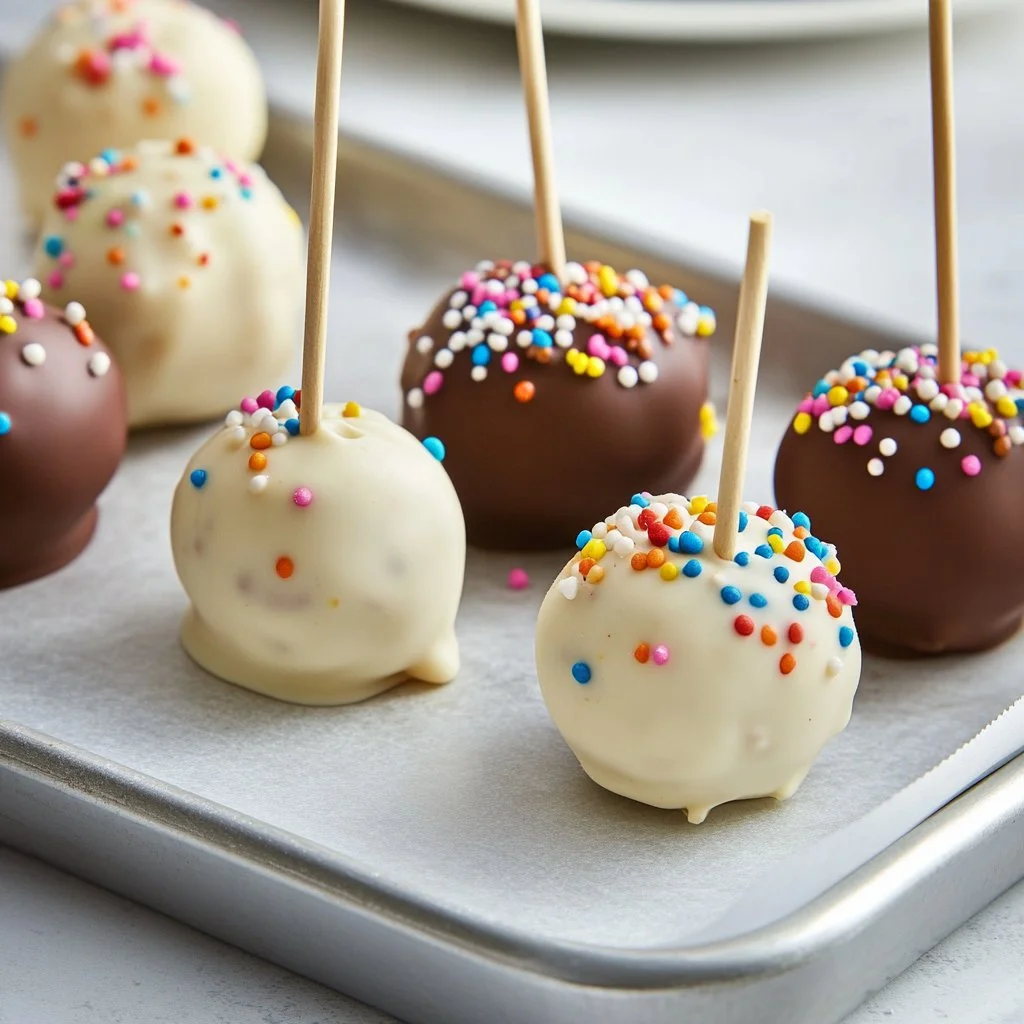
Dip the end of each lollipop stick into the melted chocolate, then insert it into a cake ball. This helps to keep the stick in place and adds an extra layer of sweetness.
-
Dip the cake balls into the melted chocolate to coat evenly. Allow any excess to drip off. As you dip, imagine those sweet moments when family and friends will enjoy these little bites of joy.
-
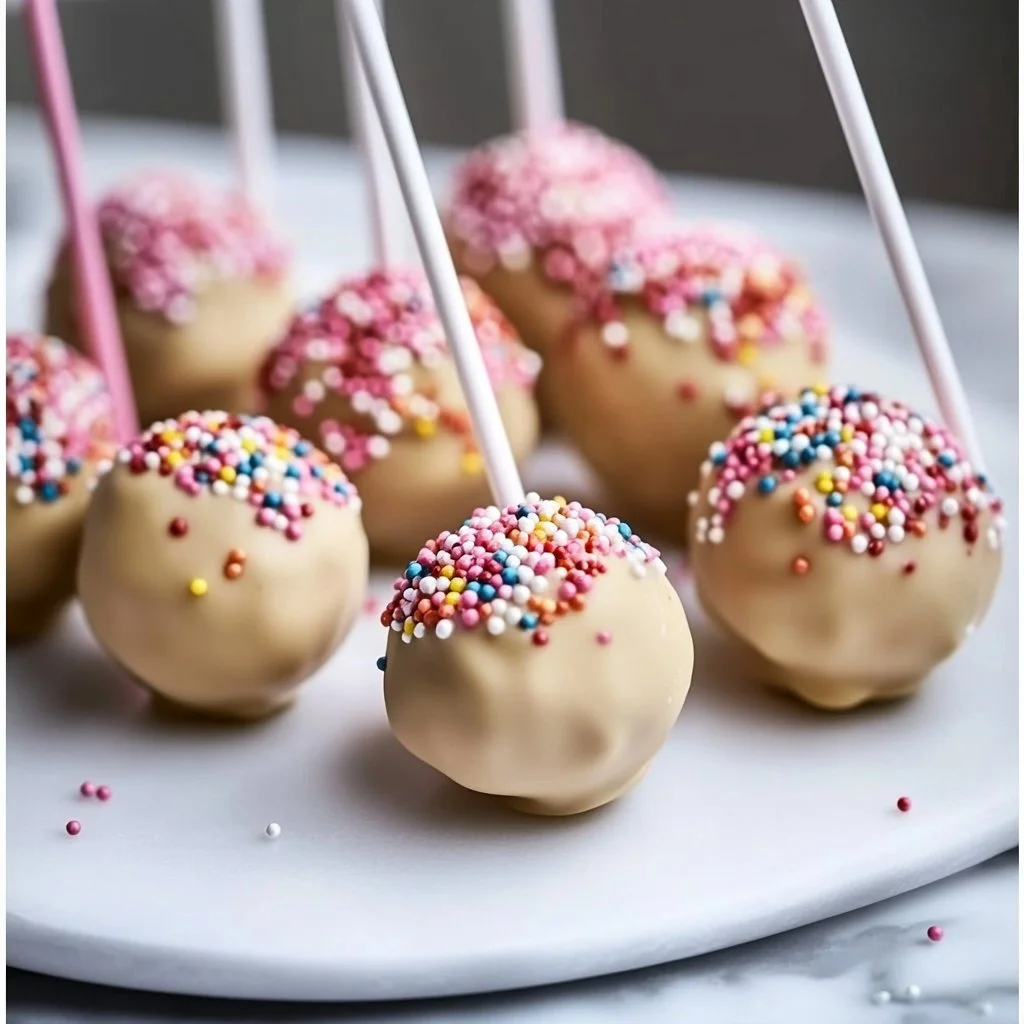
Place the coated cake pops back on the baking sheet and decorate with sprinkles if desired. This is where the fun really begins; the sprinkles will add color and excitement.
-
Let the chocolate set before serving. The anticipation builds as you wait, knowing that soon, these treats will bring smiles to your loved ones’ faces.
- Remember, a little browning on the cake develops flavor just like grandma taught me! Plus, let the kids participate in the decoration; it’s the fun part they’ll love.
Serving Starbucks Cake Pop Recipe with Love
When it comes to serving, I believe in making it a family affair. We often gather around the table, passing around the cake pops as if we’re sharing stories and smiles. These little treats tend to bring everyone together. One might like theirs plain, while another covers theirs in sprinkles. Each one becomes special, just like each family member.
The cake pops fit perfectly on a lovely plate, perhaps accompanied by some fresh fruit or a light dipping sauce. The chocolate adds a rich flavor that balances beautifully with a cup of warm tea or coffee. That shared moment, the laughter, and the casual chit-chat as we enjoy our created treats together is what makes me love this recipe so much.

Storage & Reheat Tips
After a delightful session of cake pop making and sharing, you might have a few leftovers. While they are best enjoyed fresh, storing them can be just as easy. Keep them in an airtight container at room temperature for up to about three days. Make sure they are not smashed together to maintain their shape.
If you do need to store them longer, the refrigerator works well, but allow them to come back to room temperature before serving. The microwave is fine for a quick reheat, but I find the oven best brings back that just-baked feel. Just a few minutes at low heat can revive them beautifully.
My Kitchen Notes & Shortcuts
As I’ve made these delightful cake pops time and again, I’ve learned a few things worth sharing:
- Don’t skip the frosting! It’s what binds the crumbs together and adds that extra sweetness.
- Use whatever flavor cake mix you have on hand. Chocolate is always a hit, and switching up flavors makes it feel like a brand-new treat.
- Let the kids roll the cake balls. They love getting involved, and it makes for a memorable experience.
- Experiment with different types of sprinkles. Your cake pops can become seasonal treats with just a switch-up of colors!
- If you have a chocolate tempering machine, feel free to use it. It’s a game changer for achieving that glossy finish.
Family-Friendly Variations
You don’t have to stick to just the classic flavors. The beauty of the Starbucks cake pop recipe is that it’s a canvas for creativity. Here are some ideas to make it your own:
- Try a chocolate cake base with peanut butter frosting for a decadent spin.
- Add a hint of orange or mint extract to the frosting for a refreshing flavor twist.
- Top with crushed nuts or coconut instead of sprinkles for a different texture and flavor profile.
- Create a mini stuffed cake pop by filling them with a dollop of jam or a piece of candy inside before coating them.
- For those who want a healthier option, consider using Greek yogurt instead of frosting to hold the cake together.
FAQs About Starbucks Cake Pop Recipe
Can I make this ahead for a busy week?
Absolutely! In fact, letting it sit for an hour allows the flavors to meld together beautifully, just like a cherished old family recipe.
What should I do if my cake pops don’t stick to the sticks?
If they aren’t sticking, you may need to chill your cake balls a bit longer and ensure your melted chocolate is not too hot when you dip. It’s all about achieving that perfect coating balance.
Can I freeze cake pops?
Yes, you can! Just freeze them before dipping. Lay them flat on a baking sheet until solid, then transfer them to a freezer bag. When ready to eat, allow them to thaw in the refrigerator and dip them in chocolate.
One Final Thought from My Kitchen
As I share this recipe for Starbucks cake pops, I hope you find joy in creating them as much as I do. The laughter shared while making these little bites, the taste that brings smiles, and the connections forged around the table makes every moment special. Each cake pop is like a tiny hug, waiting to be shared, and I can’t wait for you to try it with your family and friends. Until next time, happy cooking!
Starbucks Cake Pop
Ingredients
Method
- Prepare the vanilla cake mix according to package instructions and bake in a baking pan. Allow to cool completely.
- Crumble the cooled cake into a large bowl. Add frosting and mix until well combined.
- Form the mixture into small balls and place them on a baking sheet. Refrigerate for about 30 minutes to firm up.
- Melt the chocolate or candy melts in a microwave or double boiler until smooth.
- Dip the end of each lollipop stick into the melted chocolate, then insert it into a cake ball.
- Dip the cake balls into the melted chocolate to coat evenly. Allow excess to drip off.
- Place the coated cake pops back on the baking sheet and decorate with sprinkles if desired.
- Let the chocolate set before serving.